Discover the Best Kombucha Starter Kit for Home Brewing
Are you ready to dive into the world of home-brewed kombucha? If so, you’re in the right place. Welcome to our comprehensive guide on choosing the best starter kombucha kits! If you’re a kombucha enthusiast looking to start brewing your own delicious and healthy kombucha at home, you’ve come to the Kombucha Lover’s Paradise. In this guide, we will walk you through everything you need to know about starter kombucha kits, including their benefits, key features to consider, and our top recommendations. By the end of this article, you’ll be well-equipped to make an informed decision and embark on your kombucha brewing journey. These kits are perfect for both beginners and seasoned brewers, offering everything you need to start your kombucha brewing journey. Lets dive in!
Benefits of Starter Kombucha Kits
Starter kombucha kits offer several advantages over traditional brewing methods. Let’s explore some of the key benefits:
- Convenience: Starter kits provide a convenient solution for beginners and experienced brewers alike. They typically include all the essential components needed to start brewing kombucha, saving you time and effort in sourcing individual ingredients.
- Simplicity: These kits are designed to simplify the brewing process, making it accessible to everyone. With clear instructions and pre-measured ingredients, you can follow a step-by-step approach without worrying about precise measurements or complex procedures.
- Quality Control: Using an Starter kit ensures consistent quality in your kombucha batches. The components are carefully selected to maintain optimal brewing conditions, resulting in a flavorful and well-balanced end product.
- Variety: Many starter kits offer the flexibility to experiment with different flavors and ingredients. This allows you to unleash your creativity and customize your kombucha according to your taste preferences.
Key Features to Consider

When choosing the best starter kombucha kit for your brewing needs, there are several important features to consider. Let’s delve into each of these factors:
1. Brewing Vessel
The brewing vessel is the container where the fermentation process takes place. Look for a kit that provides a durable, food-grade glass container with a wide mouth for easy access. The size of the vessel should be suitable for your brewing goals and available space.
2. SCOBY (Symbiotic Culture of Bacteria and Yeast)
The SCOBY is a vital component of kombucha brewing as it initiates the fermentation process. Ensure that the kit includes a healthy and robust SCOBY. A high-quality kit may even offer a backup SCOBY in case of any mishaps during fermentation.
3. Starter Tea
Starter tea is the liquid used to kick-start the fermentation process. It’s essential to have a sufficient quantity of strong starter tea included in the kit. This helps maintain a balanced pH level and provides the necessary nutrients for the SCOBY to thrive.
4. Organic Ingredients
Opting for organic ingredients ensures that your kombucha is free from pesticides and harmful chemicals. Look for a kit that provides organic tea and sugar, as these are the primary ingredients used in kombucha brewing.
5. Temperature Control
Maintaining the ideal fermentation temperature is crucial for successful kombucha brewing. Consider kits that offer temperature control features, such as a built-in thermometer or a heating pad, to ensure consistent results in any climate.
GMK’s Top 3 Reccomended Starter Kits
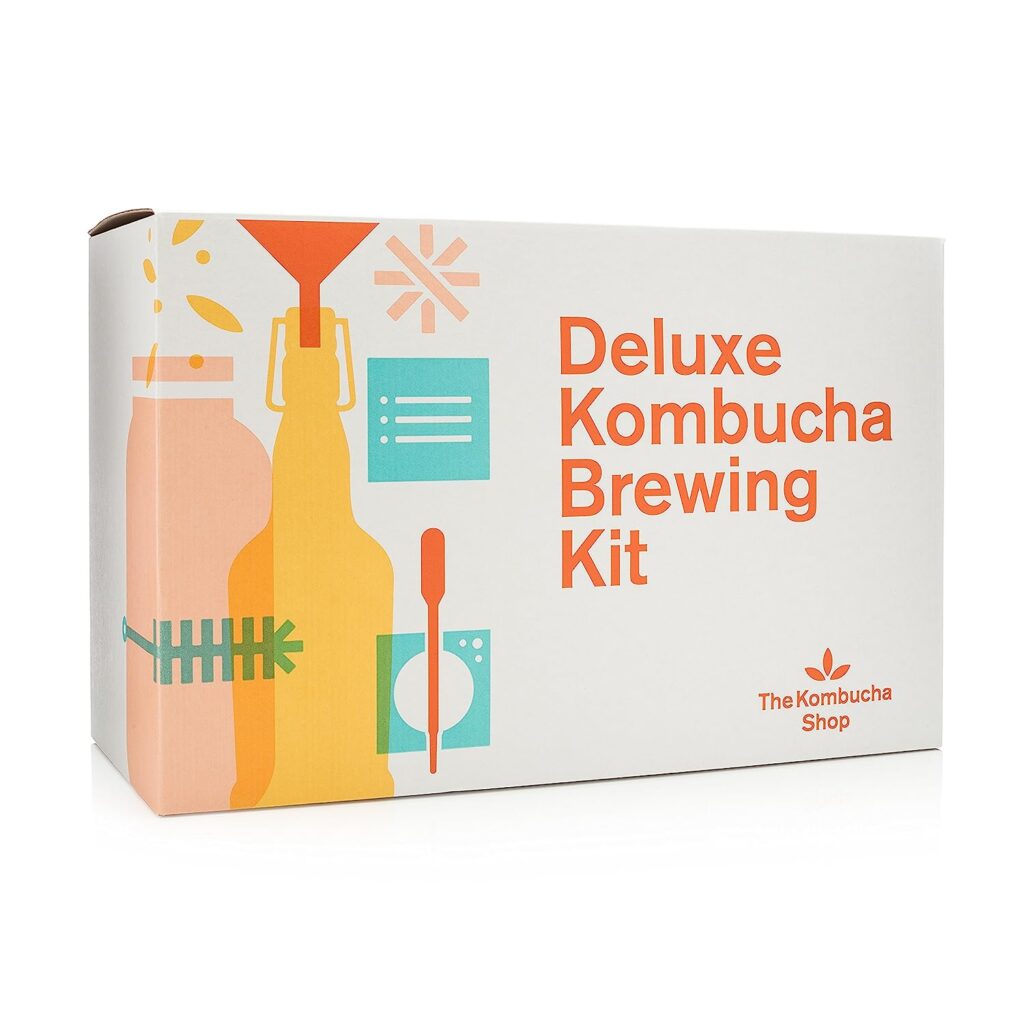
Firstly, let’s explore the Delux Organic Kombucha Starter Kit. This kit is a standout choice for those just starting their kombucha journey. It provides all the essentials, including a SCOBY (Symbiotic Culture of Bacteria and Yeast), tea, a one-gallon jar with cloth and rubber band, cane sugar, and pH test strips. The instructions are clear and concise, making the brewing process a breeze. What sets this kit apart is its commitment to quality. All ingredients are certified organic, ensuring your brew is as natural as it can be.
Next on the List
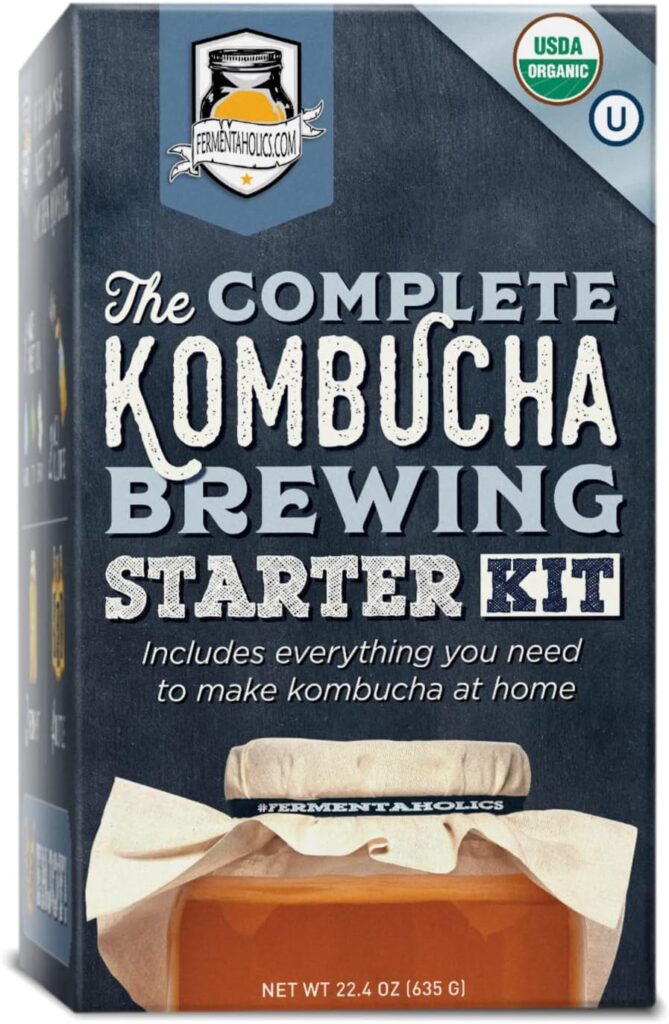
Transitioning to our next recommendation, we have the Get Fermentaholics Complete Kombucha Starter Kit. This kit is another excellent choice for beginners. It includes a healthy SCOBY, organic tea blend, and organic cane sugar. The kit also comes with a brewing jar and a temperature gauge, ensuring your brew is at the optimal temperature for fermentation.
Final Choice
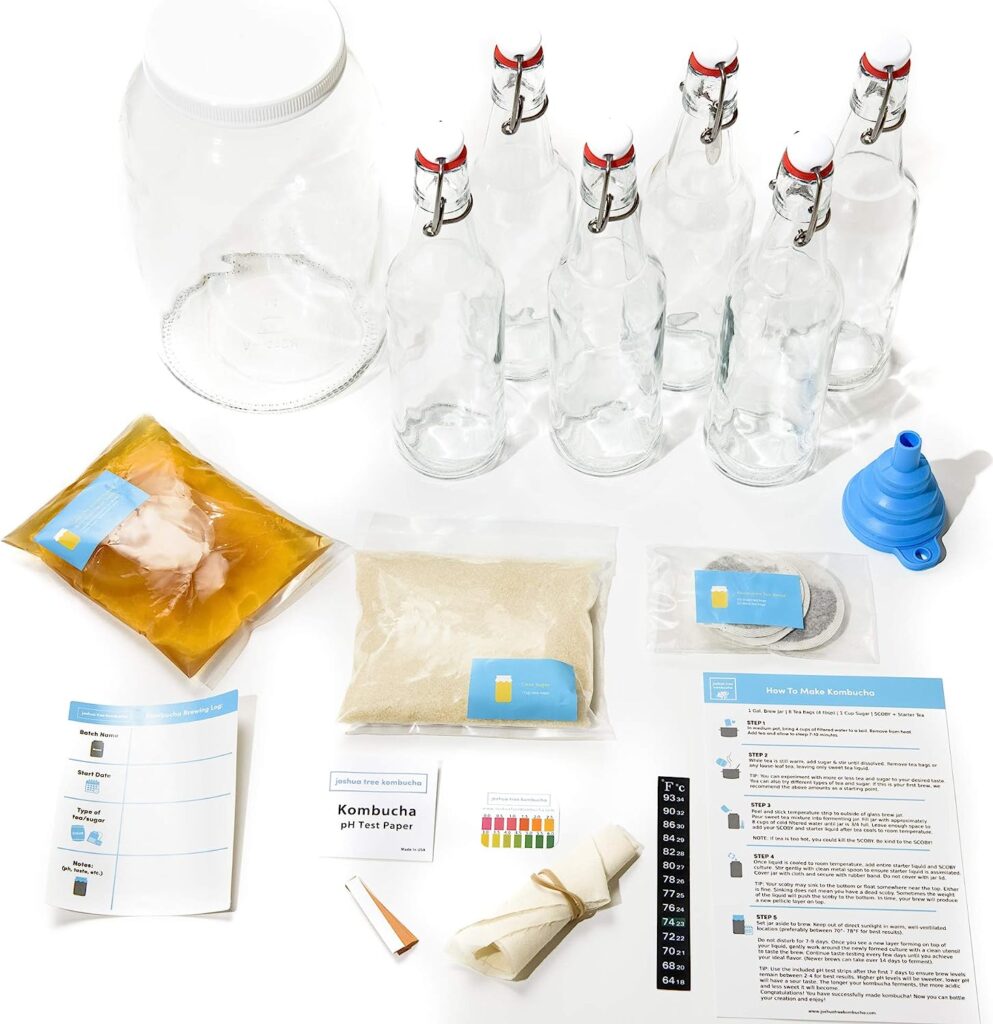
Finally, let’s discuss the Joshua Tree Deluxe Kombucha Starter Kit. This kit is renowned for its ease-of-use and clear instructions. It includes a healthy, good-sized SCOBY, which is key for preventing mold and yielding excellent kombucha. The kit also includes all the ingredients you’ll need, including tea, sugar, a gallon jar, cloth, and rubber bands.
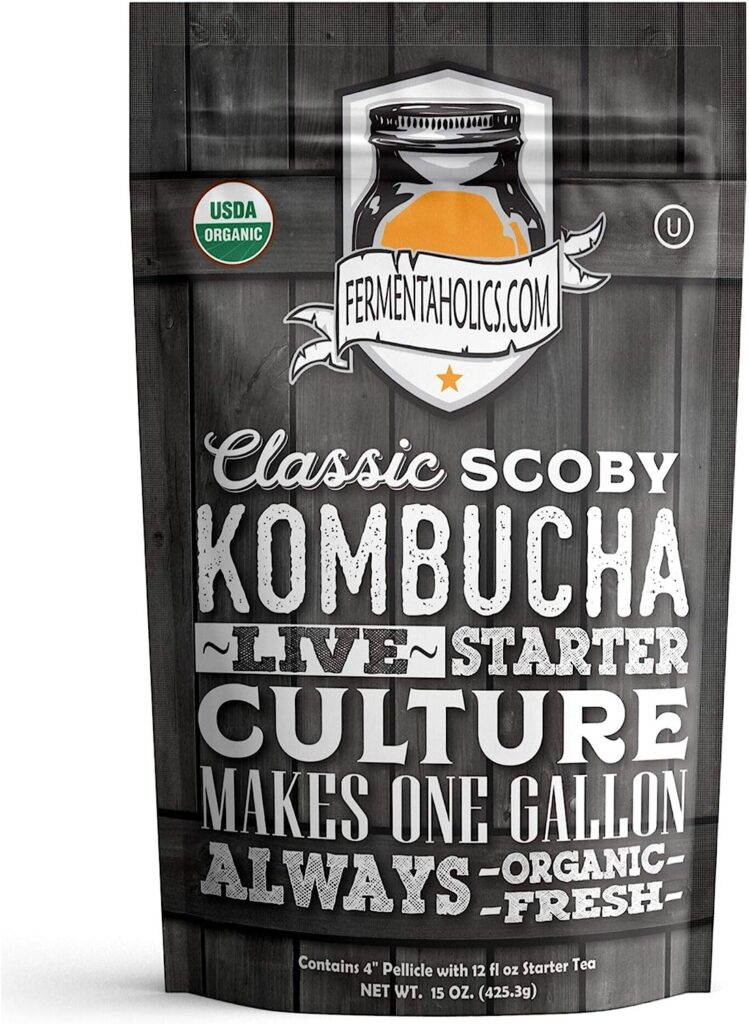
Lastly, for those who already have some brewing tools, the Fermentaholics ORGANIC Kombucha SCOBY With Twelve Ounces of Starter Tea is a great option. This kit focuses on providing a high-quality starter culture, including 12 ounces of starter tea and a SCOBY to make a gallon batch of kombucha.
Setting Up Your Kombucha Starter Kit
Now that you’ve selected your kombucha starter kit, it’s time to set it up and begin your brewing journey. Follow these steps for a successful start:
Step 1: Sanitizing the brewing vessel and equipment
Before starting, ensure that all the equipment, including the brewing vessel, funnel, and stirring utensils, are thoroughly cleaned and sanitized. Use hot water and mild dish soap or a food-safe sanitizer to eliminate any potential contaminants.
Step 2: Preparing the tea and sweetening it
Brew a pot of tea using your preferred type of tea leaves. It’s recommended to use black or green tea for your first batch. Add sweetener, usually in the form of sugar or honey, to the hot tea and stir until fully dissolved. Allow the sweetened tea to cool to room temperature.
Step 3: Cooling the sweetened tea and adding the starter liquid
Once the sweetened tea has cooled, pour it into the brewing vessel. Add the starter liquid provided in your kit. The starter liquid helps introduce the necessary bacteria and yeast to kickstart fermentation. Gently stir the mixture to ensure even distribution.
Step 4: Introducing the SCOBY to the mixture
Carefully place the SCOBY on top of the sweetened tea mixture in the brewing vessel. The SCOBY may float or sink initially, but it will find its position during fermentation. Avoid touching the SCOBY with your bare hands to prevent contamination.
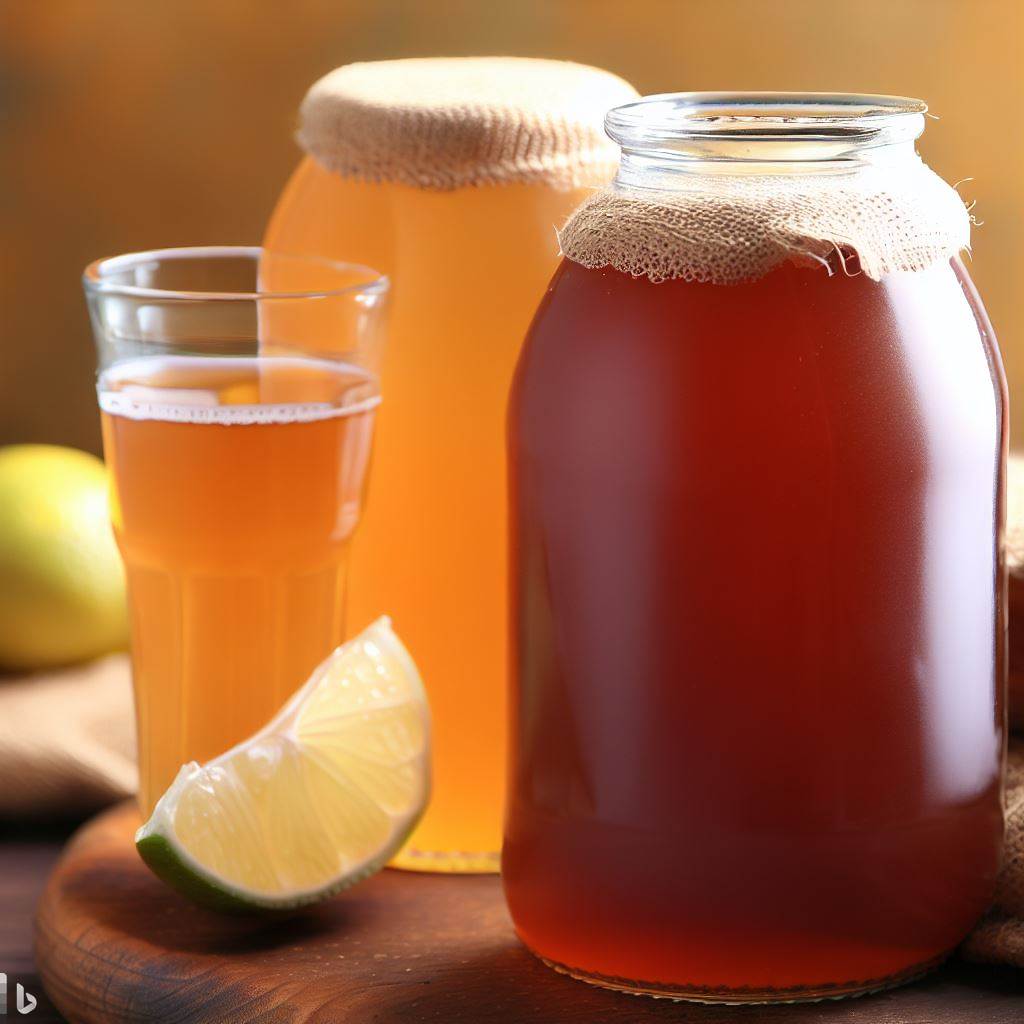
Step 5: Covering the brewing vessel and maintaining the right conditions
Cover the brewing vessel with a cloth or a lid that allows airflow while preventing dust and insects from entering. Place the vessel in a location away from direct sunlight but within a suitable temperature range, usually between 68°F and 78°F (20°C and 26°C). Avoid fluctuating temperatures and excessive heat or cold.
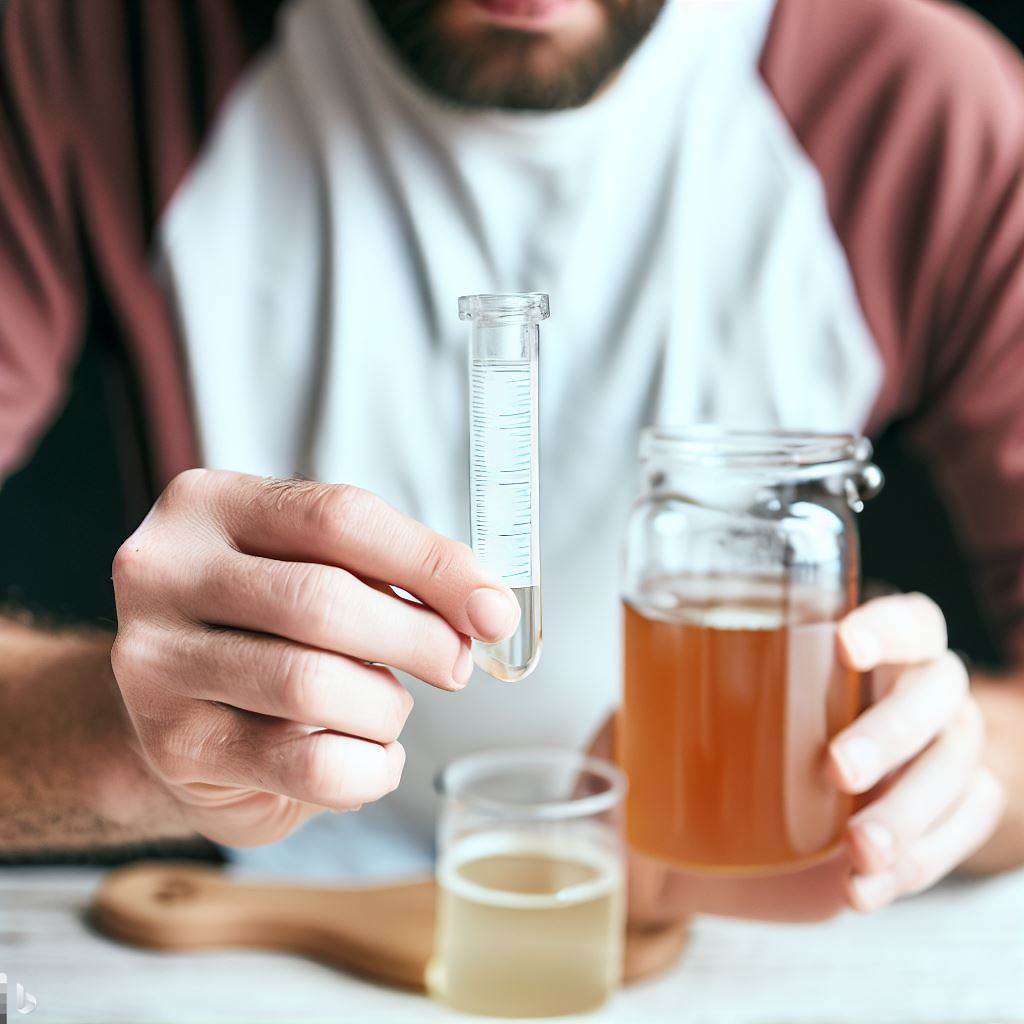
Step 6: Fermentation and tasting the progress
Allow the kombucha to ferment undisturbed for 7 to 14 days, depending on your desired taste. During this time, the SCOBY will metabolize the tea’s sugars and produce carbonation, acidity, and beneficial compounds. Periodically check the progress by tasting small samples with a clean spoon. Once the kombucha reaches the desired balance of sweetness and tartness, it’s ready for the next steps.
Additional Tips for Successful Kombucha Brewing
To help you on your journey of becoming a skilled kombucha brewer, we’ve compiled some additional tips and insights to ensure successful results:
1. Proper Cleaning and Sanitization
Maintaining a clean and sanitized brewing environment is crucial for producing high-quality kombucha. Before starting the brewing process, make sure to thoroughly clean all equipment, including the brewing vessel, utensils, and bottles. Use non-toxic cleaning agents and rinse them well to remove any residue.
2. Temperature and Fermentation Time
To achieve the desired flavor profile and carbonation level, it’s essential to monitor the fermentation temperature and time. Follow the instructions provided with your chosen kit for the recommended temperature range and fermentation duration. Keep in mind that warmer temperatures tend to speed up fermentation, while cooler temperatures slow it down.
3. Experiment with Flavorings
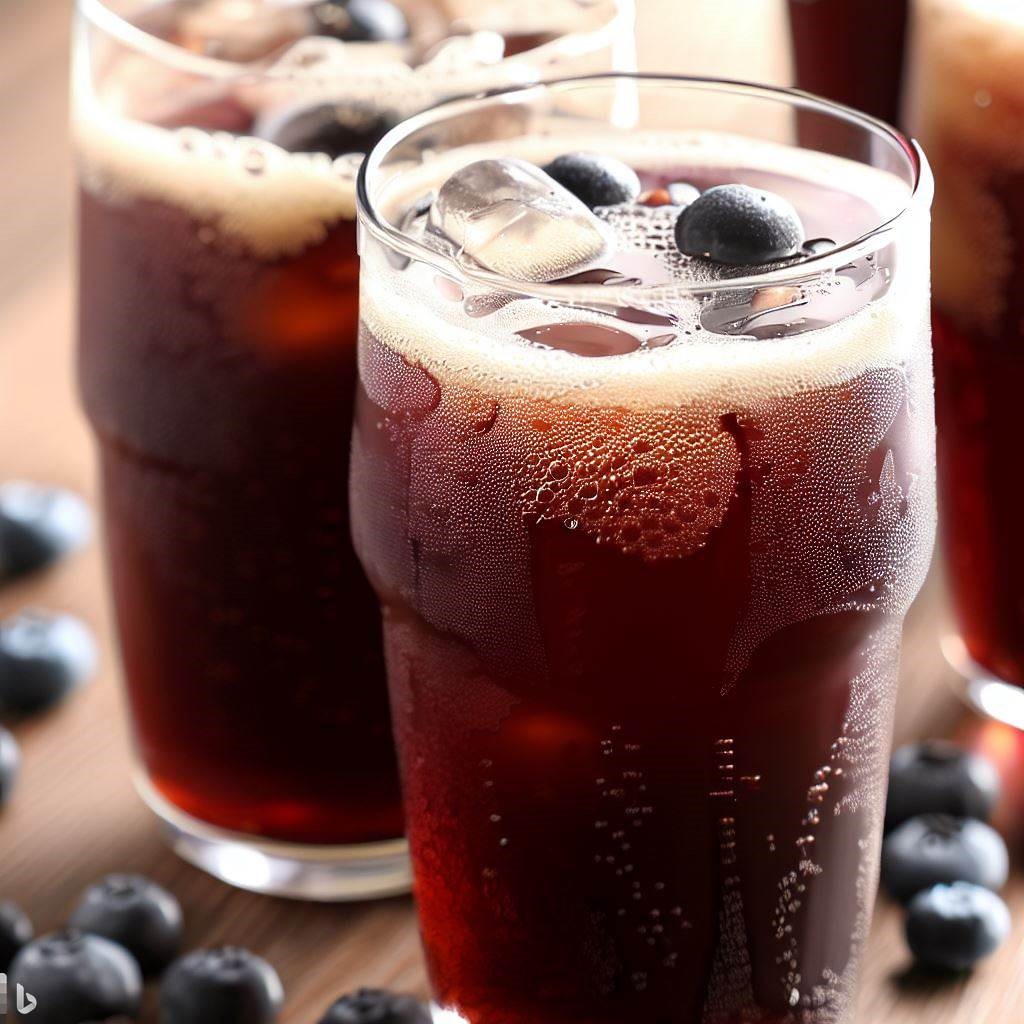
One of the joys of brewing kombucha at home is the ability to experiment with different flavorings. Once the initial fermentation is complete, you can add fruits, herbs, spices, or even fruit juices to create unique and delicious flavor combinations. Consider trying ingredients like berries, ginger, mint, or lavender to infuse your kombucha with enticing flavors.
4. Secondary Fermentation
If you prefer a more effervescent and carbonated kombucha, you can opt for a secondary fermentation. After the initial fermentation, transfer the brewed kombucha to airtight bottles and add flavorings, if desired. Seal the bottles and allow them to ferment at room temperature for an additional 1 to 3 days. Remember to burp the bottles daily to release excess pressure.
5. Patience and Observation
Kombucha brewing is an art that requires patience and careful observation. Throughout the process, monitor the appearance and aroma of your brew. Look for signs of healthy fermentation, such as the formation of a new SCOBY layer, the presence of bubbles, and a pleasantly tangy aroma. If you notice any signs of mold or off-putting odors, it’s best to discard the batch and start anew.
Troubleshooting Common Issues with Kombucha Fermentation
While brewing kombucha, you may encounter certain issues that affect the fermentation process. Here are some common problems and their possible solutions:
A. Mold growth
Mold growth on the surface of the kombucha can occur if the brewing conditions are not optimal or if the brewing vessel or equipment is contaminated. If you notice mold, discard the entire batch, thoroughly clean and sanitize all equipment, and start anew with a fresh SCOBY and starter liquid.
B. Vinegar-like smell
A strong vinegar-like smell in your kombucha indicates that it has over-fermented. This could be due to an extended fermentation period or high temperatures during brewing. Taste the kombucha to confirm its tartness. If it’s too acidic, shorten the fermentation time in future batches.
C. Slow fermentation
If your kombucha is fermenting slowly, it may be due to low temperatures or an insufficient amount of starter liquid. Ensure that the brewing vessel is kept within the recommended temperature range, and consider increasing the amount of starter liquid in your next batch to provide more active bacteria and yeast.
D. Carbonation issues
Insufficient carbonation or overly fizzy kombucha can be attributed to factors such as temperature fluctuations, low sugar content, or inadequate sealing of the bottles during the second fermentation. Experiment with different brewing conditions and adjust the sugar and fermentation time to achieve the desired carbonation level.
E. Weak or overly acidic kombucha
Weak-tasting kombucha may result from under-fermentation or insufficient brewing time. Allow the kombucha to ferment for a longer period until it reaches the desired level of tartness. If your kombucha is overly acidic, reduce the fermentation time or adjust the temperature to control the acidity levels.
Start Your Kombucha Brewing Journey Today!

Now that you’re equipped with a wealth of knowledge on starter kombucha kits, key features to consider, and valuable tips for successful brewing, it’s time to embark on your kombucha brewing journey. Choose the best starter kombucha kit that suits your needs, gather your ingredients, and get ready to create homemade kombucha that’s bursting with flavor and goodness.
Remember, the world of kombucha brewing is filled with endless possibilities. Explore different tea blends, experiment with flavors, and embrace your creativity as you craft batches of delicious and refreshing kombucha. Cheers to your newfound passion for homemade kombucha and may your brewing adventures be fruitful and enjoyable!
Conclusion
In conclusion, the world of home-brewed kombucha is an exciting one, filled with opportunities for creativity and customization. Whether you’re a beginner or a seasoned brewer, there’s an starter kombucha kit out there for you. Consistently producing high-quality kombucha requires practice, experimentation, and a passion for the craft. With dedication and a commitment to continuous improvement, you’ll soon master the art of brewing your own exceptional kombucha.
So why wait? Start your brewing adventure today and discover the joy of creating your own unique kombucha flavors right at home. Wanting to dive into making Kombucha once you get your kit? Check out our QuickStart guide!
Remember, the key to a successful kombucha brew lies in the quality of your ingredients and tools. Choose a kit that aligns with your brewing goals and enjoy the journey. Happy brewing y’all!
Thanks for reading on GMK’s Starter Kombucha Kits to get going. Read additional articles: