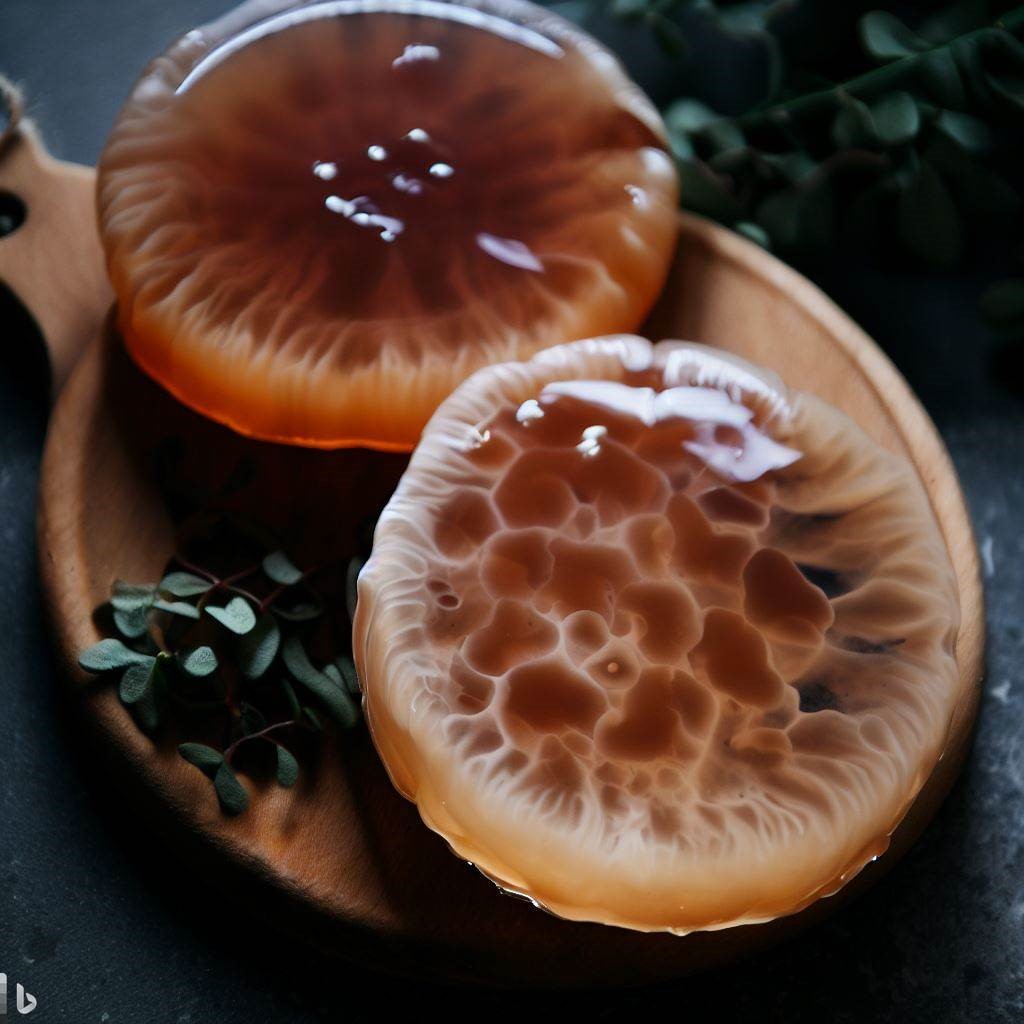
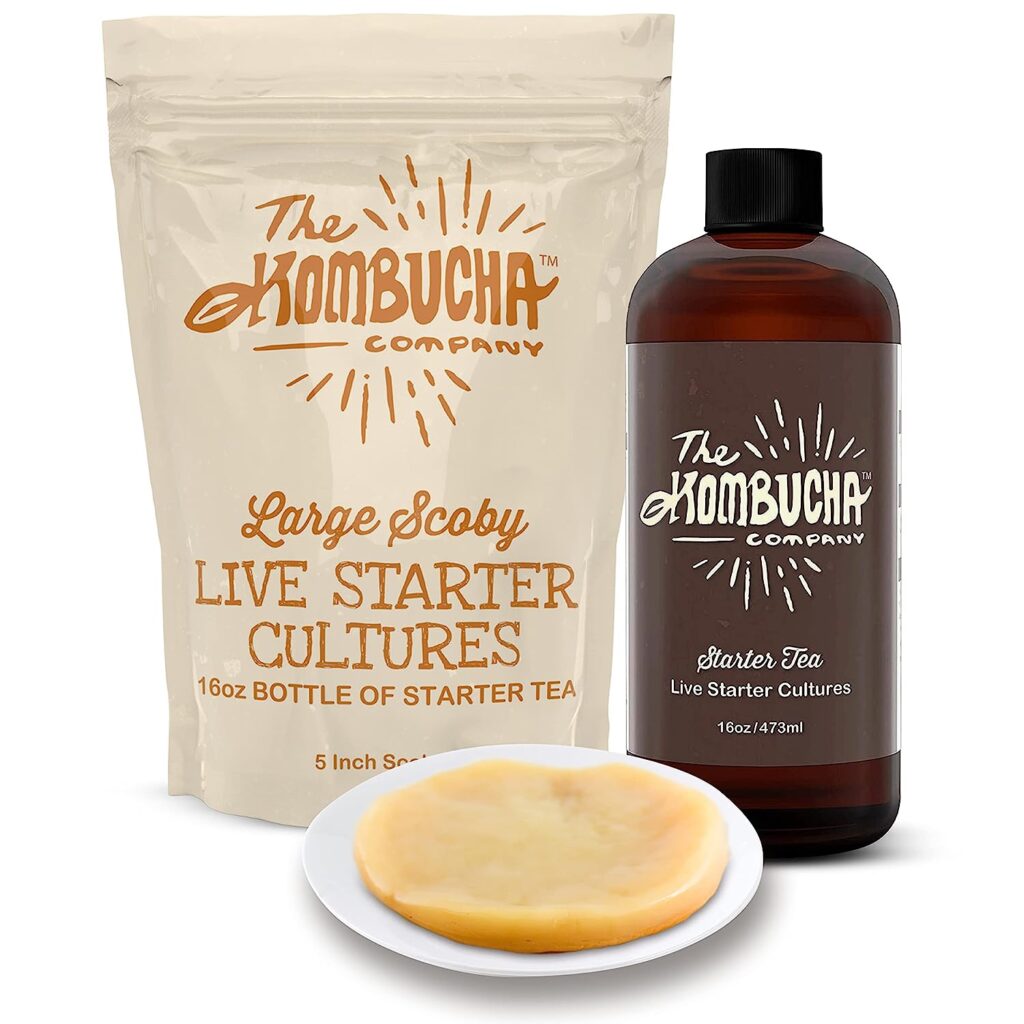
Growing your Kombucha Scoby, Symbiotic Culture Of Bacteria and Yeast can be a rewarding and cost-effective way to brew your own kombucha at home. This article will guide you through the process of growing a SCOBY from a store-bought bottle of regular kombucha. However, if you don’t want to wait for the SCOBY creation process you can “buy one”.
What is a SCOBY?
A SCOBY is a living, symbiotic culture of bacteria and yeast that is used to ferment sweet tea into kombucha, a probiotic-rich beverage. The SCOBY consumes the sugars in the tea, producing a range of organic acids, vitamins, and enzymes that give kombucha its unique flavor and health benefits.
Step 1: Choosing Your Starter Kombucha
The first step in growing a SCOBY is to choose a suitable bottle of store-bought kombucha. Look for a bottle of raw, unpasteurized, and unflavored kombucha. The presence of live cultures is crucial for the growth of your SCOBY, and these can be killed off in pasteurized kombucha
Step 2: Preparing Your Tea Base
Next, you’ll need to prepare a tea base for your SCOBY to grow in. Brew 4 cups of tea (black tea is recommended for its nutrient content), and add 1 cup of sugar while the tea is still hot. Allow the tea to cool to room temperature before proceeding to the next step.
Step 3: Combining the Tea and Kombucha
Once your sweet tea has cooled, pour it into a large, clean glass jar. Then, pour in the entire bottle of store-bought kombucha. Make sure to include any small bits of SCOBY that may be present in the bottle, as these will serve as the “seed” for your new SCOBY.
Step 4: Covering and Storing Your Jar
Cover your jar with a piece of tightly woven cloth or a coffee filter, and secure it with a rubber band. This allows air to circulate while keeping out dust and insects. Store your jar in a warm, dark place (around 70-85°F or 21-29°C is ideal) where it won’t be disturbed.
Step 5: Waiting for Your SCOBY to Grow
Now comes the hardest part: waiting. It can take anywhere from 1 to 4 weeks for your SCOBY to form. During this time, you may see bubbles, cloudy strings, or patches forming in your jar. These are all signs that your SCOBY is growing.
Step 6: Harvesting Your SCOBY
Once your SCOBY is about 1/4 inch (0.6 cm) thick, it’s ready to be used to brew kombucha. With clean hands, gently remove the SCOBY from the jar and place it in a clean dish. You can now use your SCOBY and some of the liquid from your jar (now a mature kombucha) as the starter for your first batch of home-brewed kombucha.
Final Thoughts
Growing your own SCOBY from store-bought kombucha is a simple and rewarding process. With a little patience and care, you can start brewing your own delicious and healthful kombucha at home. Ready to get started? Check out our QuickStart Guide.
Sources: https://brewbuch.com/best-tea-for-kombucha/


