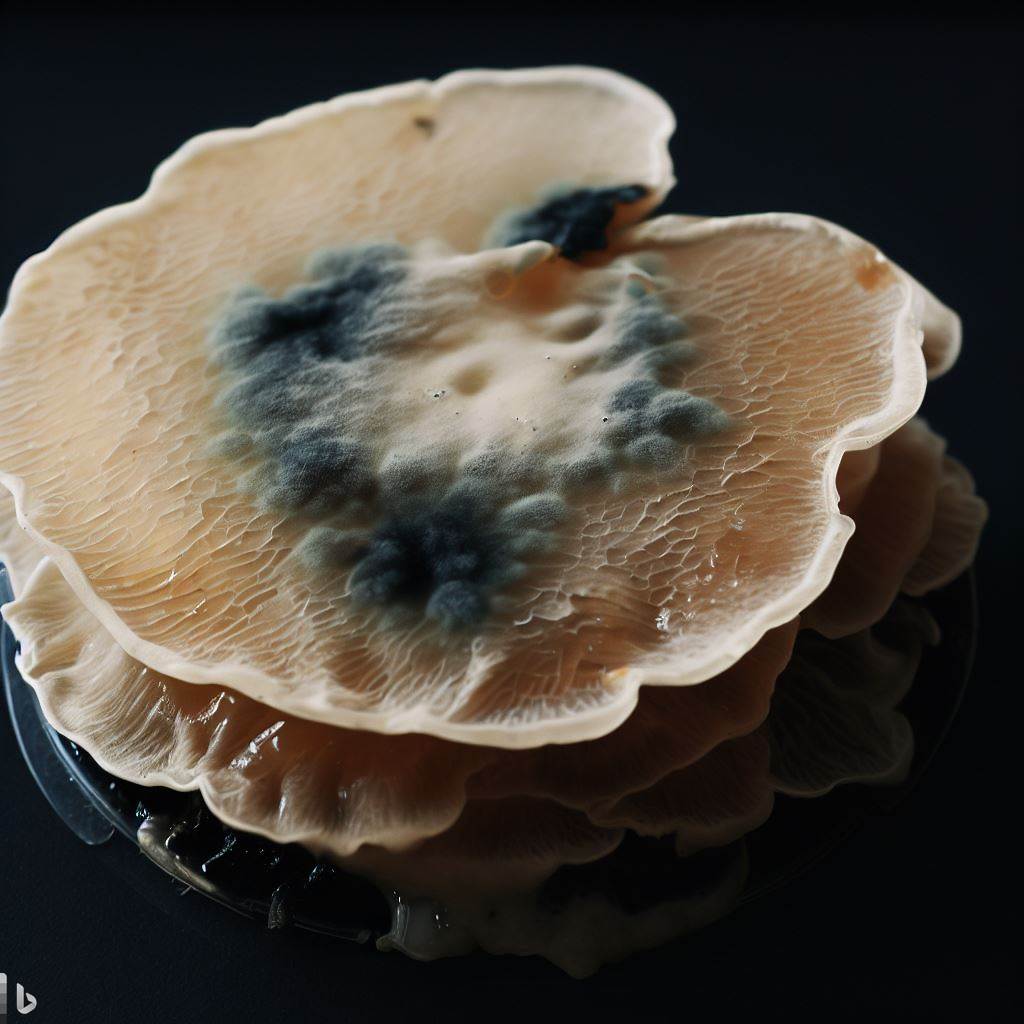
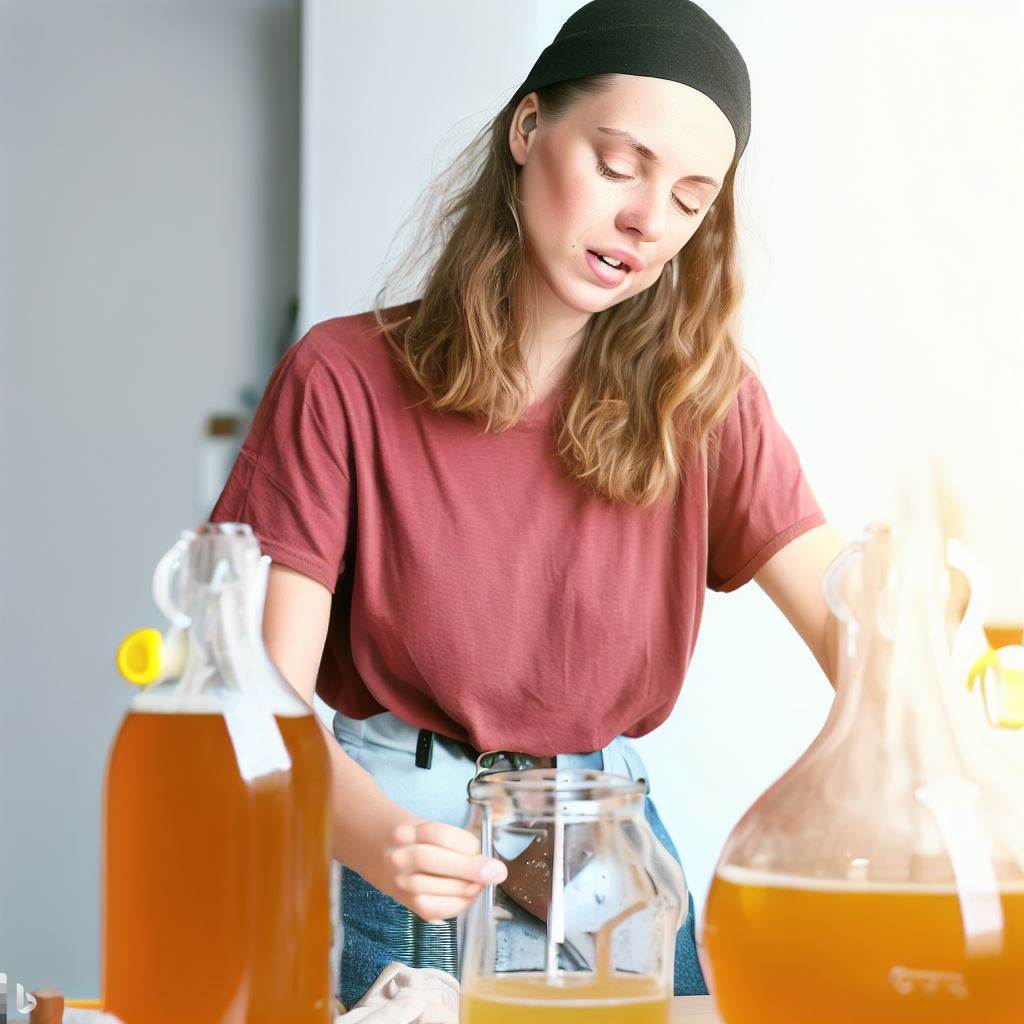
The Kombucha Guide to Second Fermentation: A Step-by-Step Approach
Did you know that the secret to Kombucha’s unique flavor and effervescence lies in the second fermentation process? This blog post will guide you through the ins and outs of second fermentation in kombucha brewing.
Understanding Second Fermentation
Second fermentation, often abbreviated as F2, is a crucial step in kombucha brewing. It’s during this stage that kombucha transforms from a simple fermented tea into a fizzy, flavorful delight. The process involves adding flavorings like fruits, herbs, or spices, and allowing the brew to ferment further. This not only enhances the taste but also increases the carbonation, giving kombucha its signature fizz.
The Importance of Second Fermentation
Why bother with second fermentation? The answer lies in the enhanced flavor profile and increased health benefits. The added ingredients during F2 provide additional nutrients and antioxidants, making your kombucha even healthier. Plus, the extra fermentation time allows for more probiotics to develop, boosting your gut health.
The Science Behind Second Fermentation
The role of yeast and bacteria
During second fermentation, the yeast and bacteria present in the kombucha culture continue to metabolize the residual sugars, producing carbon dioxide as a byproduct. This carbon dioxide gets trapped in the bottle, creating natural carbonation. The bacteria also work to further refine the flavor and reduce the acidity of the kombucha.
Key factors affecting second fermentation
Several factors influence the success of second fermentation:
1. Temperature control
Maintaining an optimal temperature range is crucial for yeast and bacteria activity. Typically, a temperature between 75°F to 85°F (24°C to 29°C) is ideal for achieving desirable carbonation levels. However, it is essential to note that higher temperatures can lead to overcarbonation and potential bottle explosions.
2. Oxygen exposure
While oxygen is necessary for the initial fermentation, it should be minimized during second fermentation to prevent spoilage and maintain carbonation. Properly sealing the bottles and limiting agitation can help reduce oxygen exposure.
3. Time duration
The length of the second fermentation period affects the carbonation level and flavor development. Generally, a duration of 1 to 3 days is recommended, but this can vary based on personal preference and the desired flavor profile.
Step-by-Step Guide to Second Fermentation
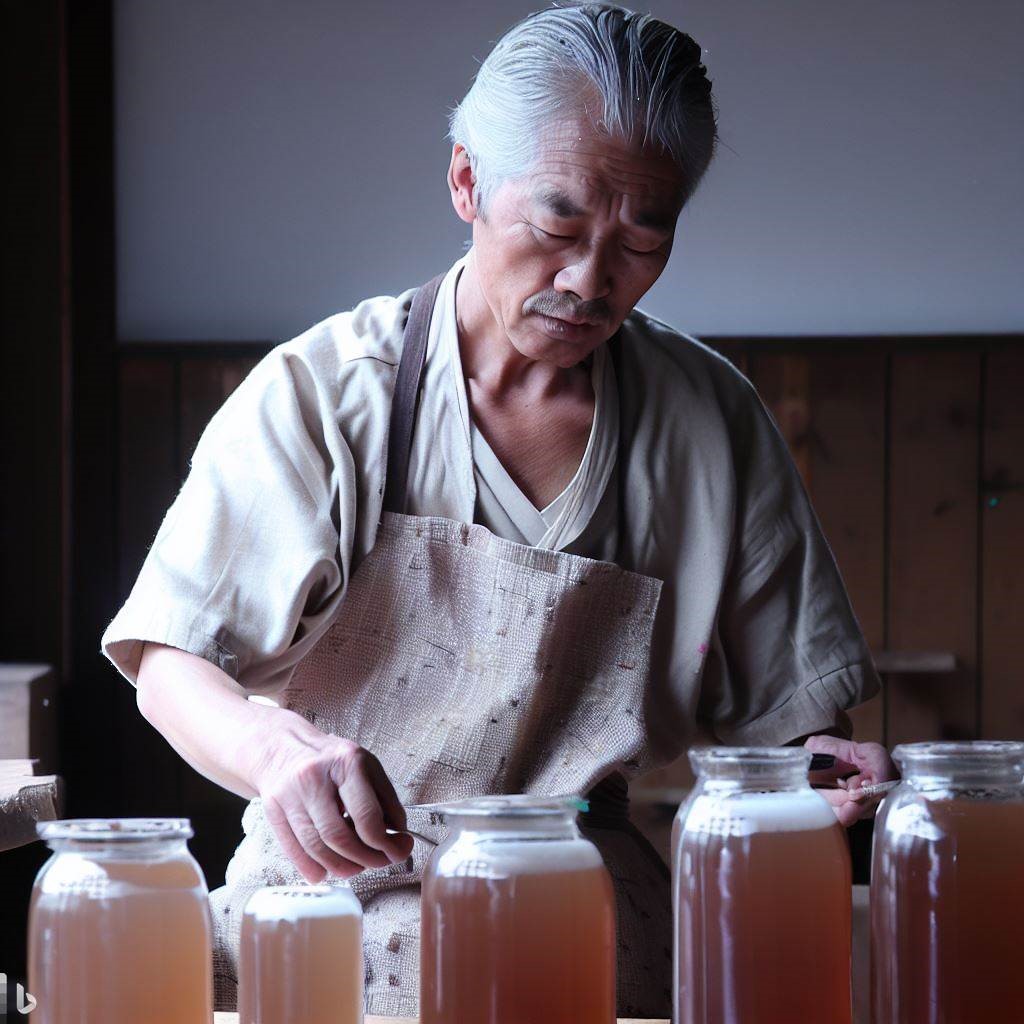
- Choose Your Flavorings: The first step in F2 is deciding on your flavorings. The options are endless – from fresh fruits like strawberries and peaches to herbs like mint and basil. You can even experiment with spices like ginger or cinnamon.
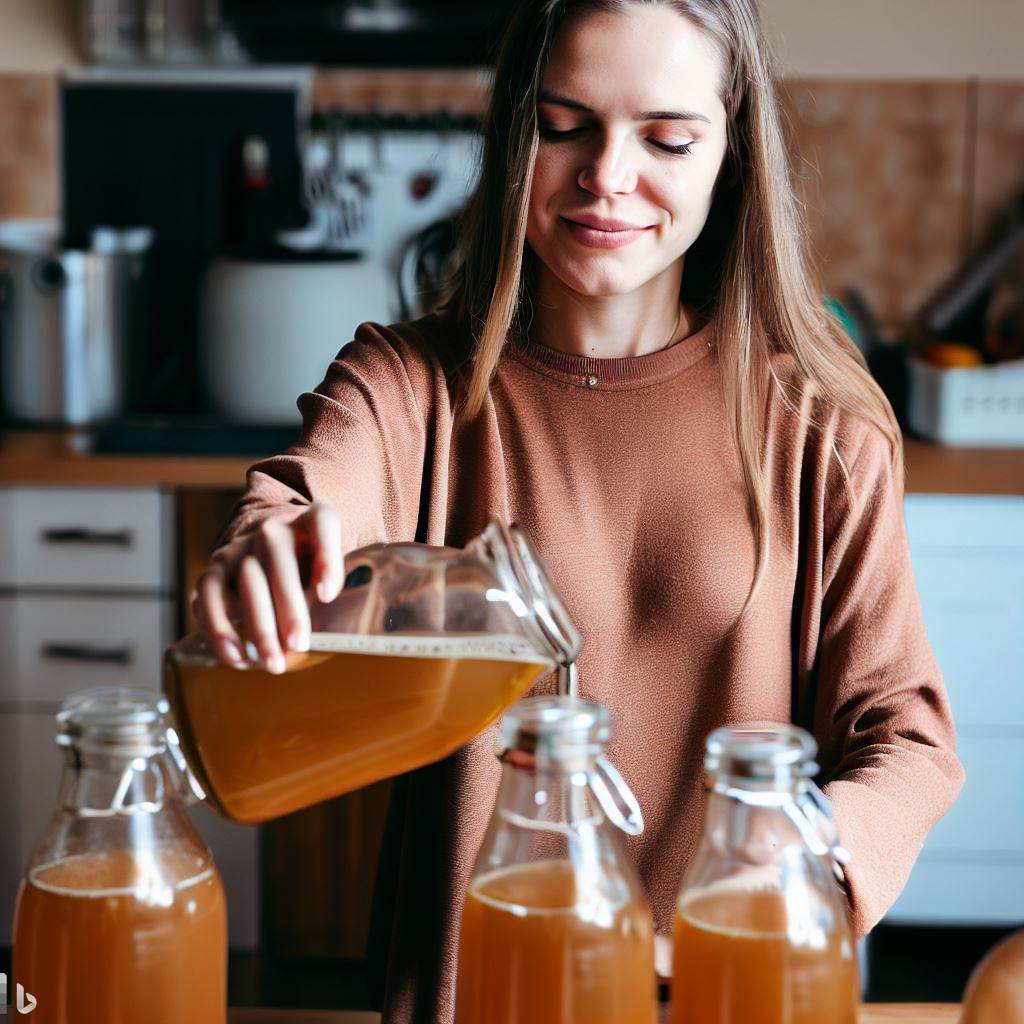
- Prepare Your Bottles: Next, prepare your bottles. Make sure they’re clean and have airtight seals. This is crucial for building up carbonation.
- Add Flavorings: Now, add your chosen flavorings to each bottle. A general rule of thumb is to fill about 10-20% of the bottle with flavorings.
- Fill with Kombucha: Fill the rest of the bottle with your fermented kombucha, leaving about an inch of space at the top.
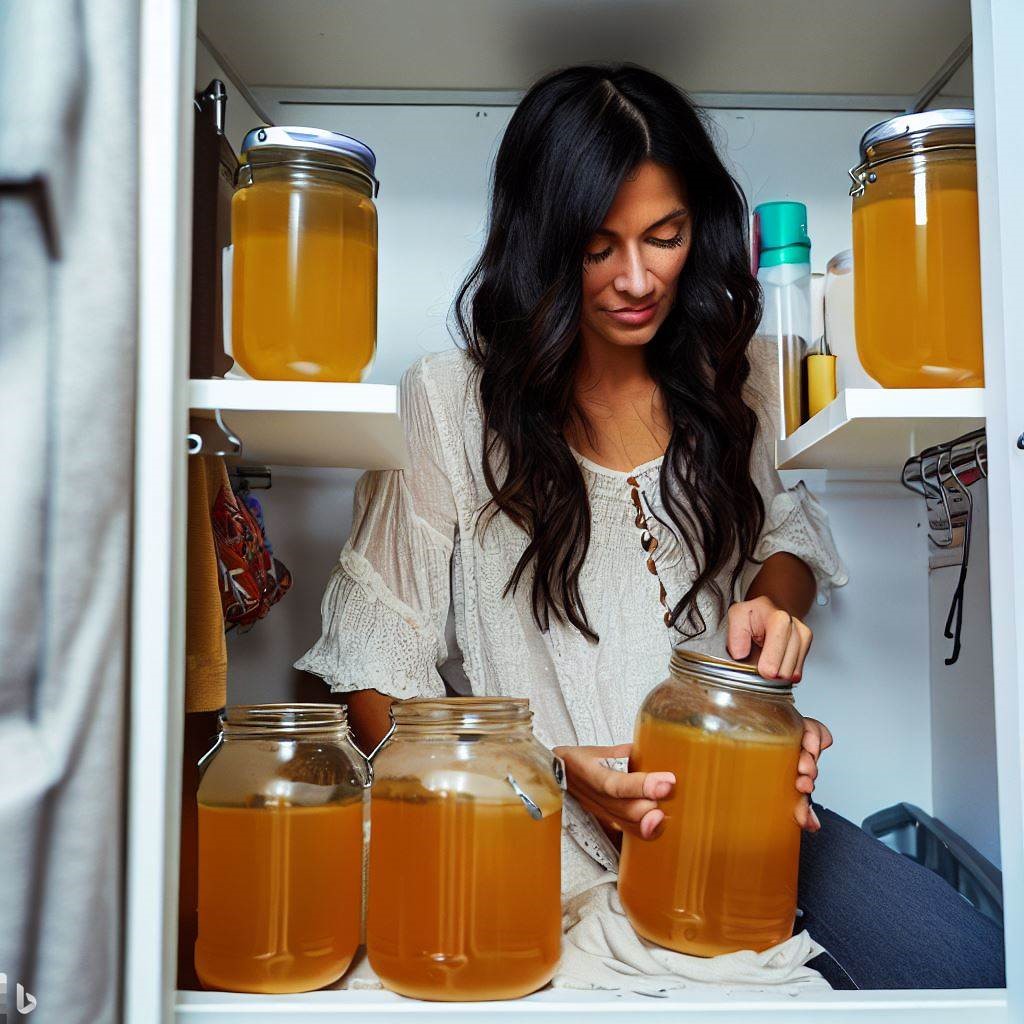
- Seal and Store: Seal your bottles tightly and store them at room temperature, away from direct sunlight.
- Wait: The second fermentation process typically takes 2-7 days. The exact time will depend on the temperature and the ingredients used.
- Refrigerate: Once you’re happy with the level of carbonation and flavor, strain out the solids and refrigerate your kombucha.
- Enjoy: Your homemade, second fermented kombucha is ready to enjoy!
Tips and Tricks for Successful Second Fermentation
Temperature regulation techniques
- Utilize a temperature-controlled environment such as a fermentation chamber or a cooler with a temperature controller to maintain consistent temperatures during second fermentation.
- Monitor the ambient temperature using a thermometer and adjust accordingly.
- Place the bottles on a temperature-stable surface to prevent temperature fluctuations.
Preventing carbonation mishaps
- Use high-quality bottles designed for carbonation to minimize the risk of explosions.
- Gradually increase the carbonation levels by reducing the headspace in the bottles or using smaller bottles.
- Conduct regular “burping” to release excess pressure and avoid overcarbonation.
- Perform a “squeeze test” on the bottles to assess carbonation levels. If the bottle feels rock-solid, it’s a sign of high carbonation.
Enhancing flavor profiles
- Experiment with different fruits, herbs, spices, and even teas to achieve unique flavor combinations.
- Consider incorporating dried fruits or botanicals for concentrated flavors.
- Adjust the fermentation time to achieve a balance between sweetness and tartness in the final brew.
Troubleshooting common issues
- If the kombucha tastes too sweet after second fermentation, it may need additional time to ferment further. Leave it at room temperature for an extra day or two before refrigerating.
- Cloudy kombucha can be a result of excess yeast sediment. To reduce cloudiness, allow the kombucha to settle for a longer period during decanting or strain it through a fine-mesh sieve before bottling.
- If the kombucha lacks carbonation, check the temperature and ensure the bottles are properly sealed. Adjusting the flavorings and increasing the fermentation time can also help improve carbonation levels.
The Art of Storing and Enjoying Second Fermentation Kombucha
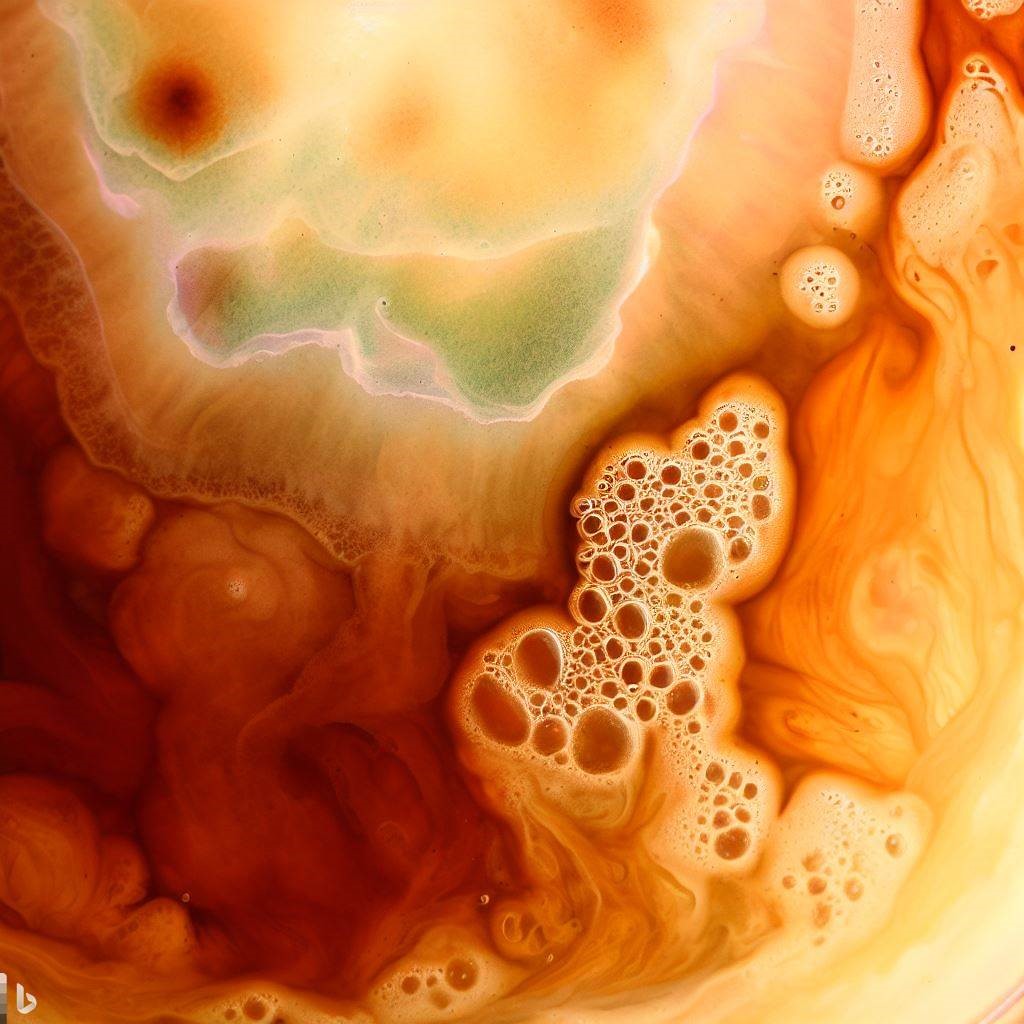
Proper storage methods
- Keep the bottled kombucha refrigerated to slow down fermentation and maintain carbonation.
- Store the bottles upright to prevent excessive contact between the kombucha and the carbonation-boosting sediment.
- Avoid exposure to direct sunlight, as it can degrade the quality and flavor of the kombucha.
Determining the ideal carbonation level
- Open one bottle and listen for the characteristic “hiss” sound. It indicates that carbonation has built up.
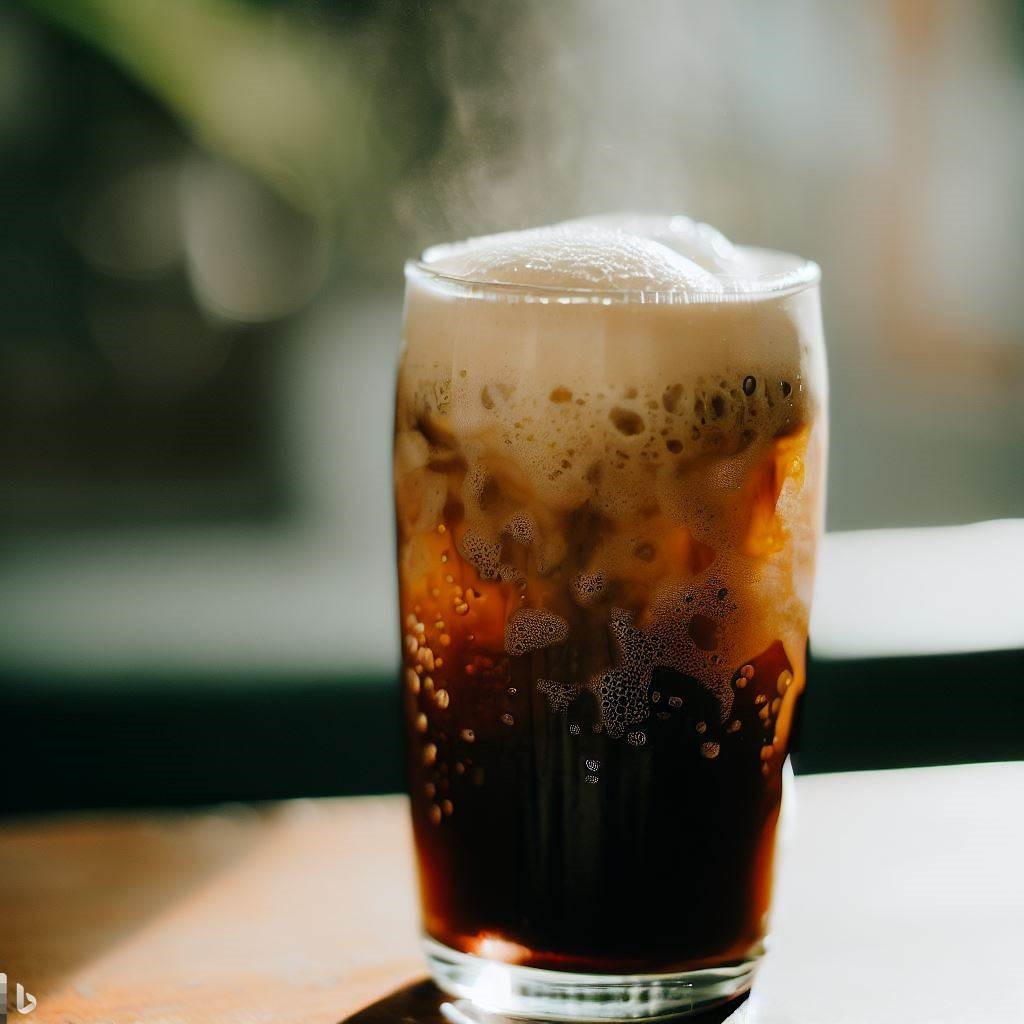
- Pour a small amount of kombucha into a glass and observe the level of carbonation and the size and persistence of bubbles.
- Taste the kombucha to determine if the carbonation level matches your preference. Adjust the fermentation time for future batches accordingly.
Serving suggestions and garnishes
- Serve chilled kombucha in a tall glass or a wine glass to enhance the visual appeal.
- Add ice cubes or frozen fruit cubes for an extra refreshing experience.
- Garnish with fresh herbs, fruit slices, or edible flowers to elevate the presentation and flavor.
Aging and maturing kombucha flavors
- While kombucha is typically enjoyed fresh, some enthusiasts age their brews for prolonged periods to develop complex flavors.
- Store a few bottles in a cool, dark place for weeks or even months to observe how the flavors evolve over time.
- Note that the kombucha may become more acidic and less carbonated during extended aging.
Conclusion
In conclusion, second fermentation is an exciting stage in kombucha brewing. It’s where you get to be creative, experiment with flavors, and enhance the health benefits of your brew. With this guide, you’re now equipped to embark on your second fermentation journey. Happy brewing!
Remember, the key to successful kombucha brewing lies in patience, experimentation, and attention to detail. So, don’t rush the process, and most importantly, have fun with it! Happy Brewing yall! Go make some Kombucha…here.
Deeper dive needed? No problem. Check out this youtube video on Kombucha fermentation details!
FAQs on Second Fermeentation
Q1: Can I reuse the SCOBY for second fermentation?
SCOBYs are not used in Second Fermentation. So no, although sometimes they do form in the smaller bottels during F2.
Q2: How long can I store second fermentation kombucha?
Properly stored and refrigerated, second fermentation kombucha can be enjoyed for several weeks, maintaining its carbonation and flavors. However, keep in mind that the carbonation level may decrease over time.
Q3: Is it normal to see sediment in the bottles during second fermentation?
Yes, it is normal to see some sediment, especially if you’re using flavorings like fruit puree. This sediment consists of yeast and other particles that settle during fermentation. Straining the kombucha or using a fine-mesh sieve can help reduce sediment.
Q4: Can I adjust the sweetness of the kombucha during second fermentation?
While the sweetness of kombucha is primarily determined during the initial fermentation, you can slightly influence the sweetness during second fermentation by adding sweeteners like honey, sugar, or fruit juices. However, keep in mind that the yeast will continue to consume some of the added sugars, so the sweetness may still decrease over time.
Q5: Are there any safety precautions I should take during second fermentation?
Yes, it’s essential to ensure proper hygiene and sanitation throughout the brewing process. Use clean equipment, wash your hands thoroughly, and sanitize all surfaces and utensils to prevent contamination. Additionally, be cautious when opening bottles to release excess carbonation and avoid injury. You should Burp your Bottles regularly!

