The Ultimate Guide to Kombucha Carbonation Keys: Achieving Bubbly Perfection
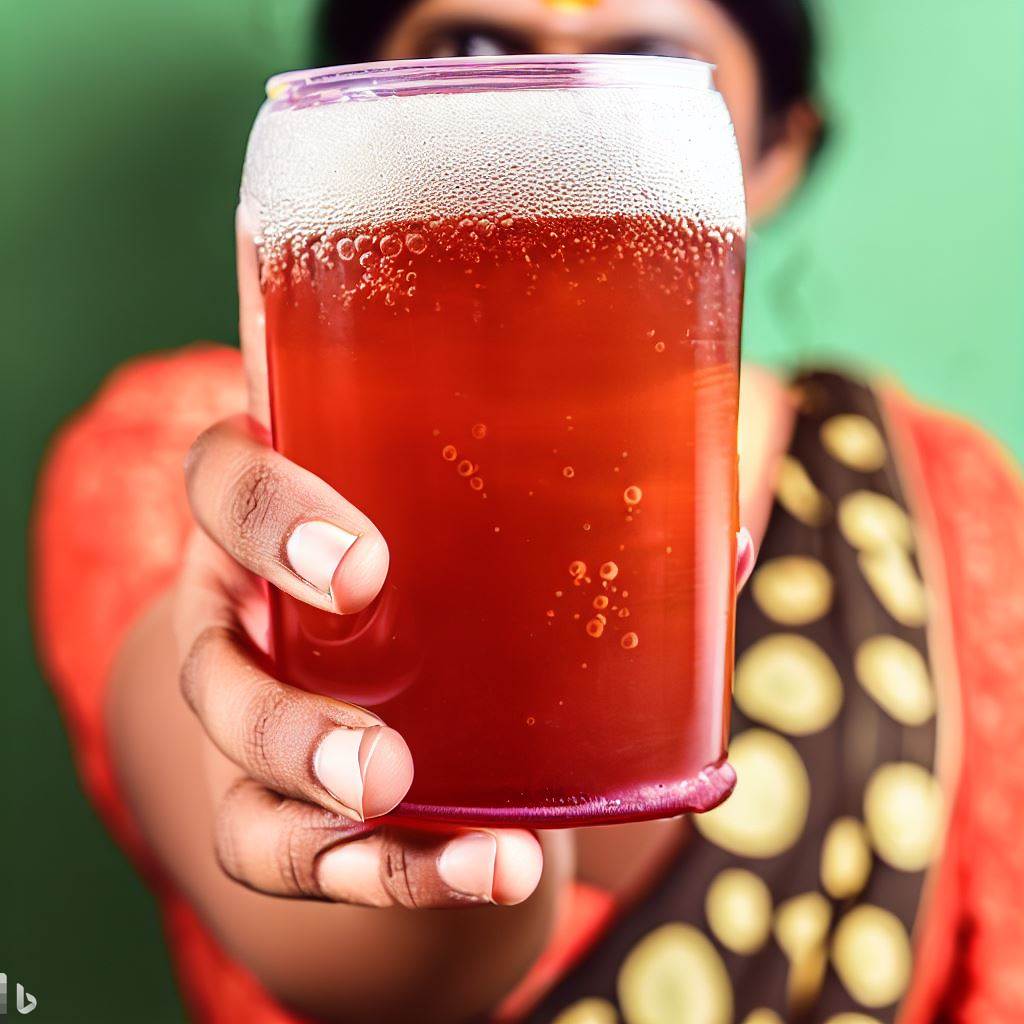
Welcome to our comprehensive guide on achieving the perfect carbonation in your homemade kombucha! Carbonation is a crucial element that adds a delightful fizz and effervescence to this popular fermented tea beverage. In this blog post, we will walk you through the process of carbonating your kombucha, providing valuable tips and tricks along the way. So, let’s dive in and unlock the secrets to achieving bubbly perfection!
Carbonation Keys
- Understanding the Importance of Carbonation:
Carbonation not only enhances the taste and mouthfeel of kombucha but also contributes to its overall appeal. The effervescence adds a refreshing quality that makes kombucha a favorite among health-conscious consumers. By mastering the art of carbonation, you can elevate your homemade kombucha to a whole new level. - Choosing the Right Ingredients:
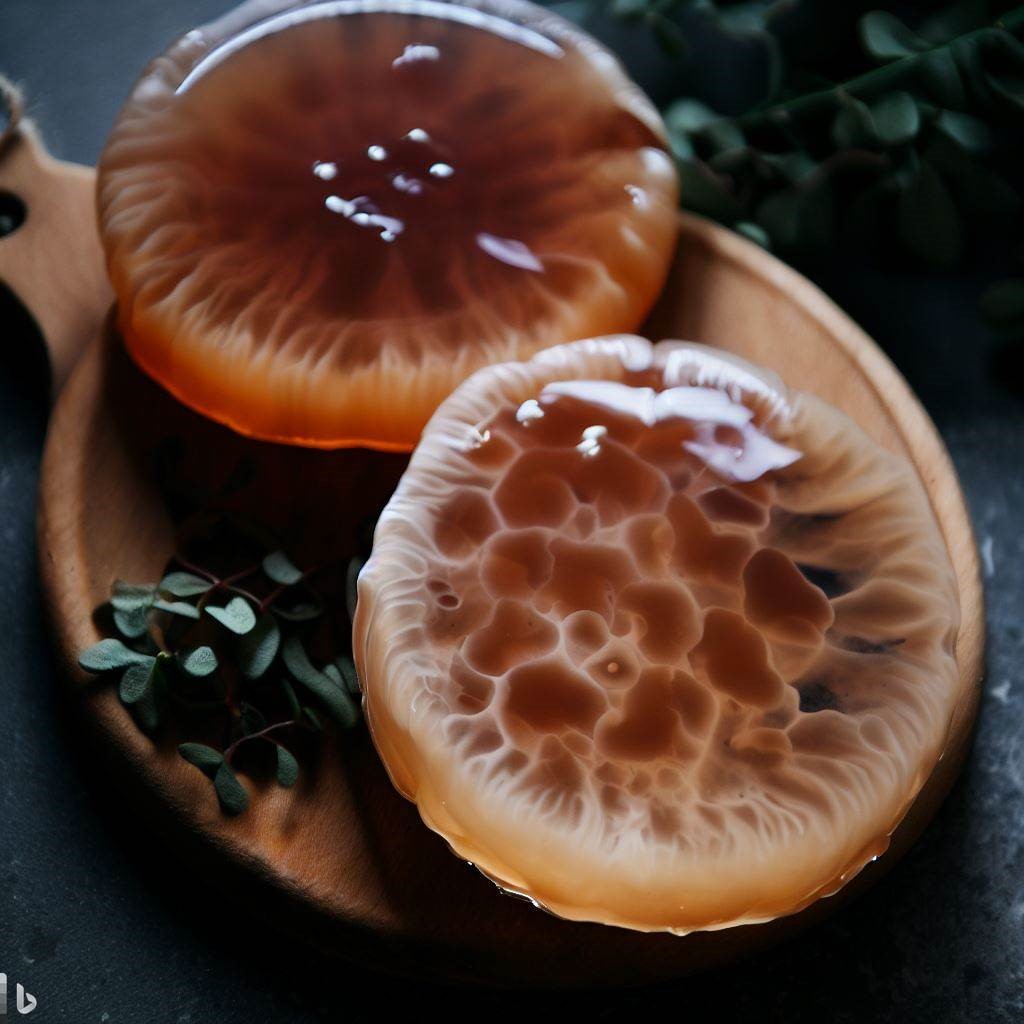
To achieve optimal carbonation, it is essential to start with high-quality ingredients. Use fresh, organic tea leaves, filtered water, and a SCOBY (Symbiotic Culture of Bacteria and Yeast) of good quality. These ingredients provide a solid foundation for successful carbonation. - Fermentation: The First Step Towards Carbonation:
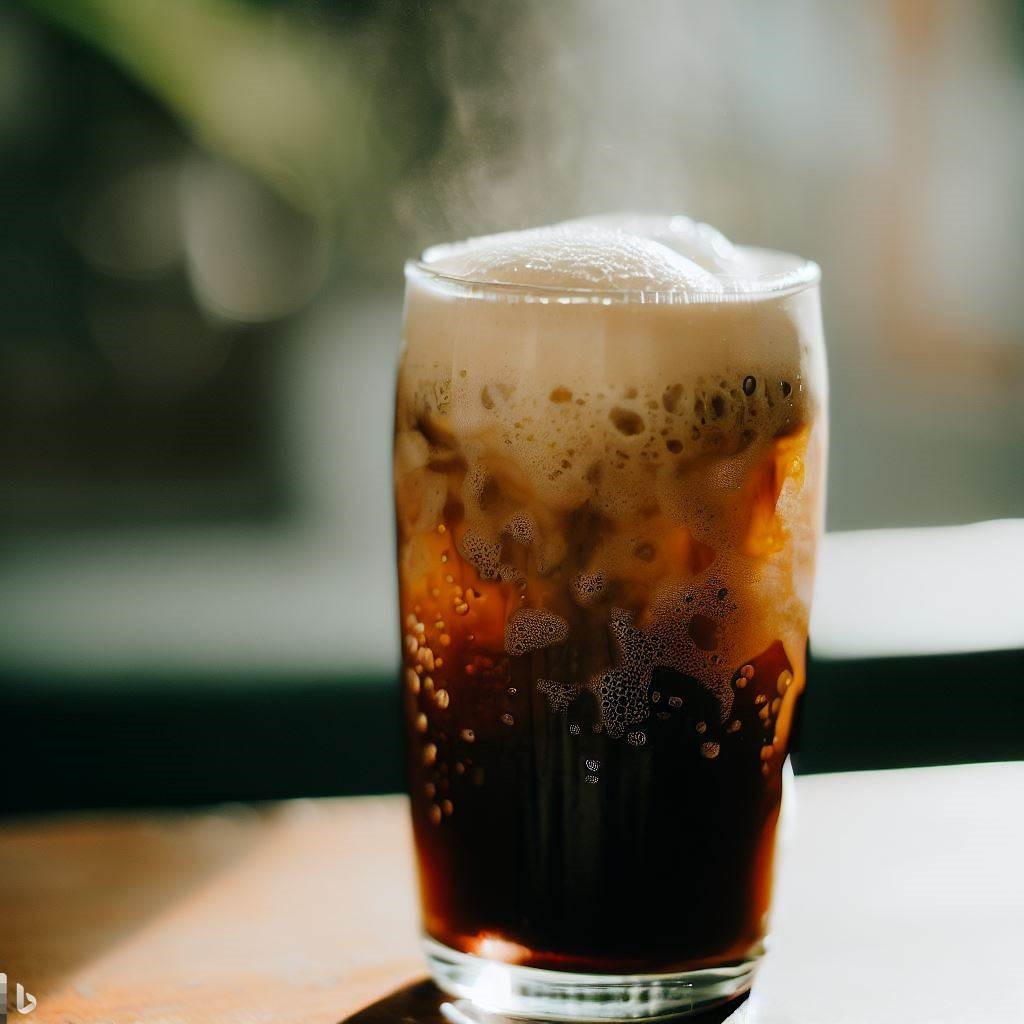
During the fermentation process, the SCOBY consumes the sugars in the tea, producing carbon dioxide as a byproduct. This carbon dioxide is responsible for the fizzy bubbles in kombucha. To ensure proper carbonation, allow your kombucha to ferment for the recommended time, typically 7-14 days, depending on the temperature and desired flavor profile. - Bottling: The Keys to Controlled Carbonation:
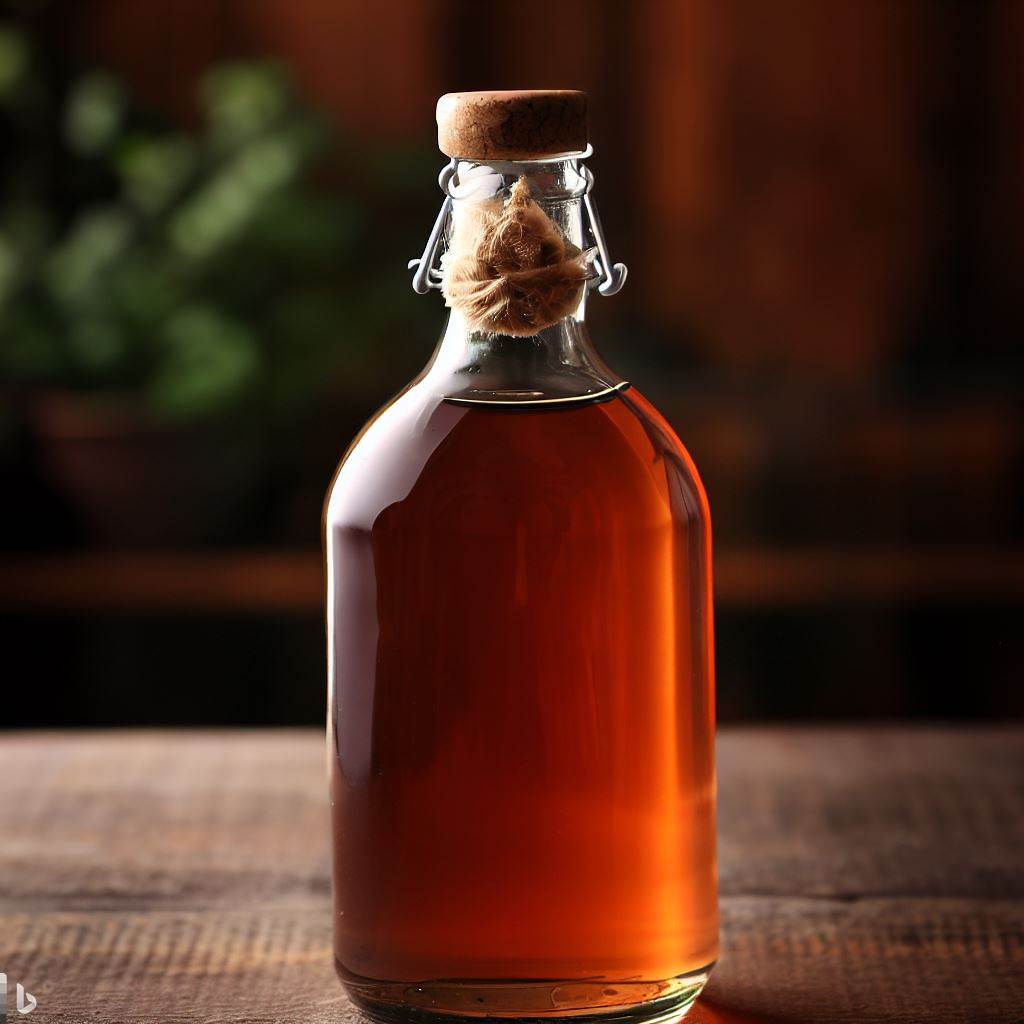
Once your kombucha has reached the desired level of fermentation, it’s time to bottle it. This step is crucial for achieving controlled carbonation. Here’s what you need to do: a. Choose the Right Bottles: Opt for sturdy glass bottles with airtight seals. This prevents carbon dioxide from escaping and allows pressure to build up, resulting in carbonation. b. Add Flavorings (Optional): If you want to infuse your kombucha with additional flavors, such as fruits or herbs, now is the time to do so. Simply add your chosen flavorings to the bottles before filling them with kombucha. c. Leave Headspace: Leave about 1-2 inches of headspace in each bottle to allow room for carbonation to develop. d. Seal Tightly: Ensure that the bottles are tightly sealed to prevent any gas from escaping during the carbonation process.
Secondary Fermentation and Enjoyment
- Secondary Fermentation: The Magic of Carbonation:
During the secondary fermentation, the remaining sugars in the kombucha are consumed by the yeast, resulting in the production of carbon dioxide. This trapped carbon dioxide creates the desired effervescence. Follow these steps for successful secondary fermentation: a. Store at Room Temperature: Place the sealed bottles in a dark, room-temperature area for 1-3 days. This allows the carbonation to develop gradually. b. Burp the Bottles (Optional): If you prefer a milder carbonation, you can “burp” the bottles by slightly opening them to release excess pressure. This step helps control the level of carbonation. - Refrigeration and Enjoyment:
Once the desired level of carbonation is achieved, transfer the bottles to the refrigerator to slow down the fermentation process. This helps maintain the carbonation and flavor. Remember to chill your kombucha before serving, and enjoy the fruits of your labor!
Conclusion
In conclusion, you are now equipped with the knowledge and techniques to master the art of kombucha carbonation keys. By following these steps and experimenting with different flavors and fermentation times, you can create your own signature bubbly kombucha. So, gather your ingredients, get brewing, and delight in the fizzy goodness of homemade kombucha. Cheers to your carbonation success! Happy Brewing yall!
Into Carbonation? Check out our post on How much Sugar to use in kombucha brewing!
Check out more inforomation on Carbonation Keys to Kombucha: Source on Carbonation Keys for this article.

