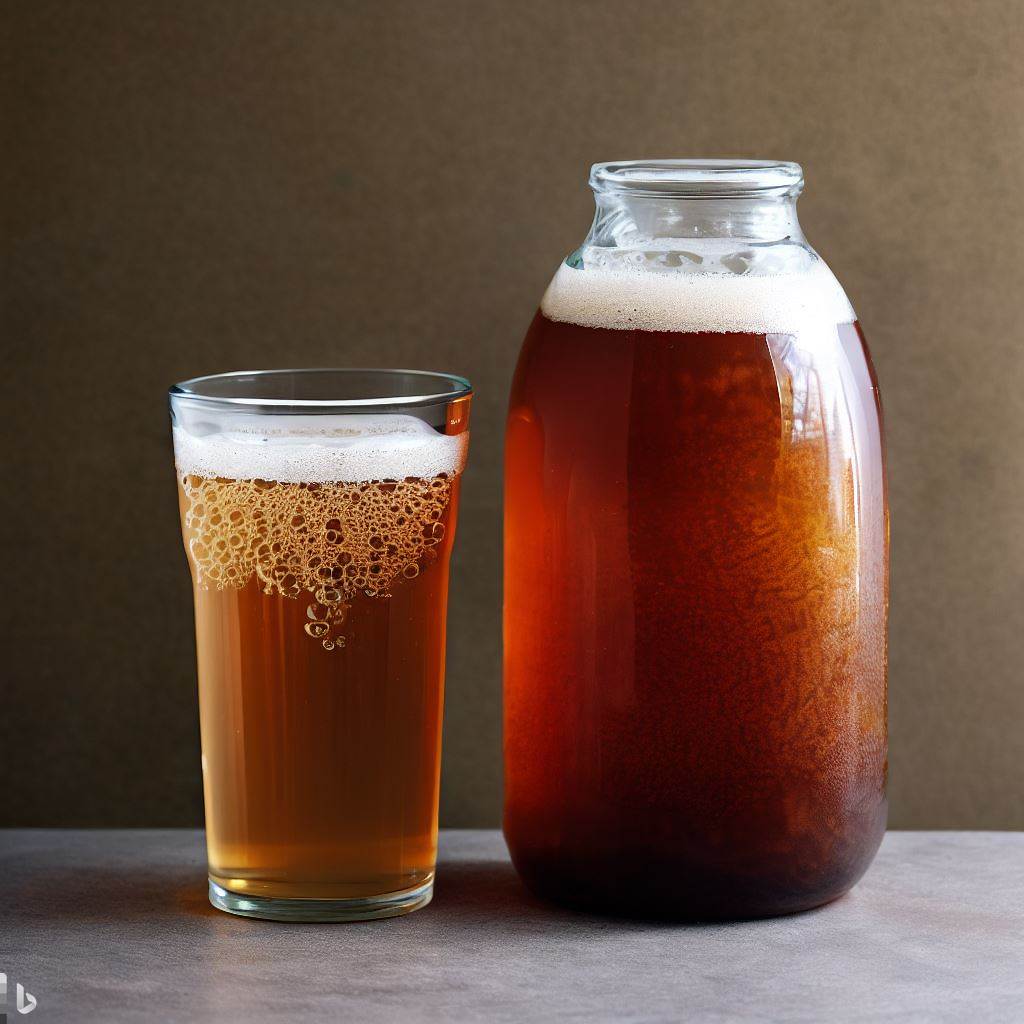
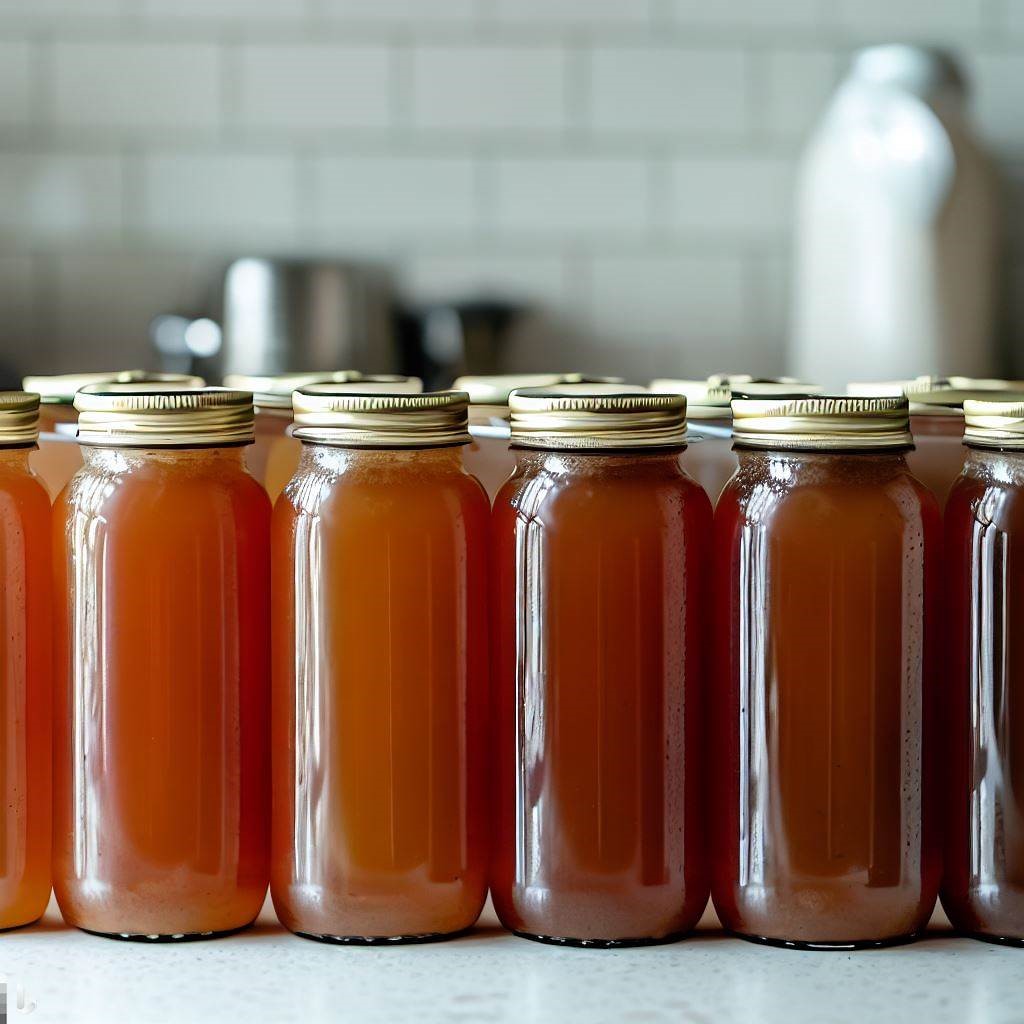
While store-bought kombucha options are readily available, making homemade kombucha allows you to experiment with flavors, control the ingredients, and save money in the long run. In this comprehensive guide, we will take you through the step-by-step process of making homemade kombucha, from creating a SCOBY to achieving a perfectly fermented brew. Get ready to become a kombucha brewmaster! Lets dive in to Homemade Kombucha A Comprehensive Guide.
Homemade Kombucha: A Comprehensive Guide to Brewing Your Own Kombucha
Kombucha, a fermented tea beverage, has been consumed for centuries due to its potential health benefits. In recent years, it has gained a significant following as more people recognize the importance of gut health and the role of probiotics. With its tangy flavor and effervescence, kombucha has become a popular alternative to sugary sodas and juices. The best part is that you can easily make it at home and tailor it to your taste preferences. Thanks for checking out Greek Mountain Kombucha’s Homemade Kombucha A Comprehensive Guide.
Benefits of Homemade Kombucha
When you brew kombucha at home, you have control over the ingredients and the fermentation process. Here are some benefits of making homemade kombucha a comprehensive guide:
- Cost Savings: Store-bought kombucha can be expensive, especially if you drink it regularly. Brewing your own kombucha allows you to enjoy this delightful beverage without breaking the bank.
- Flavor Exploration: Homemade kombucha offers endless possibilities for flavor combinations. You can experiment with different teas, fruits, herbs, and spices to create unique and delicious brews.
- Health Conscious: By making your own kombucha, you can ensure the quality and purity of the ingredients. You have control over the sugar content and can choose organic teas and natural flavorings.
- Sustainable Practice: Brewing your own kombucha reduces the need for single-use bottles and packaging, making it an eco-friendly choice.
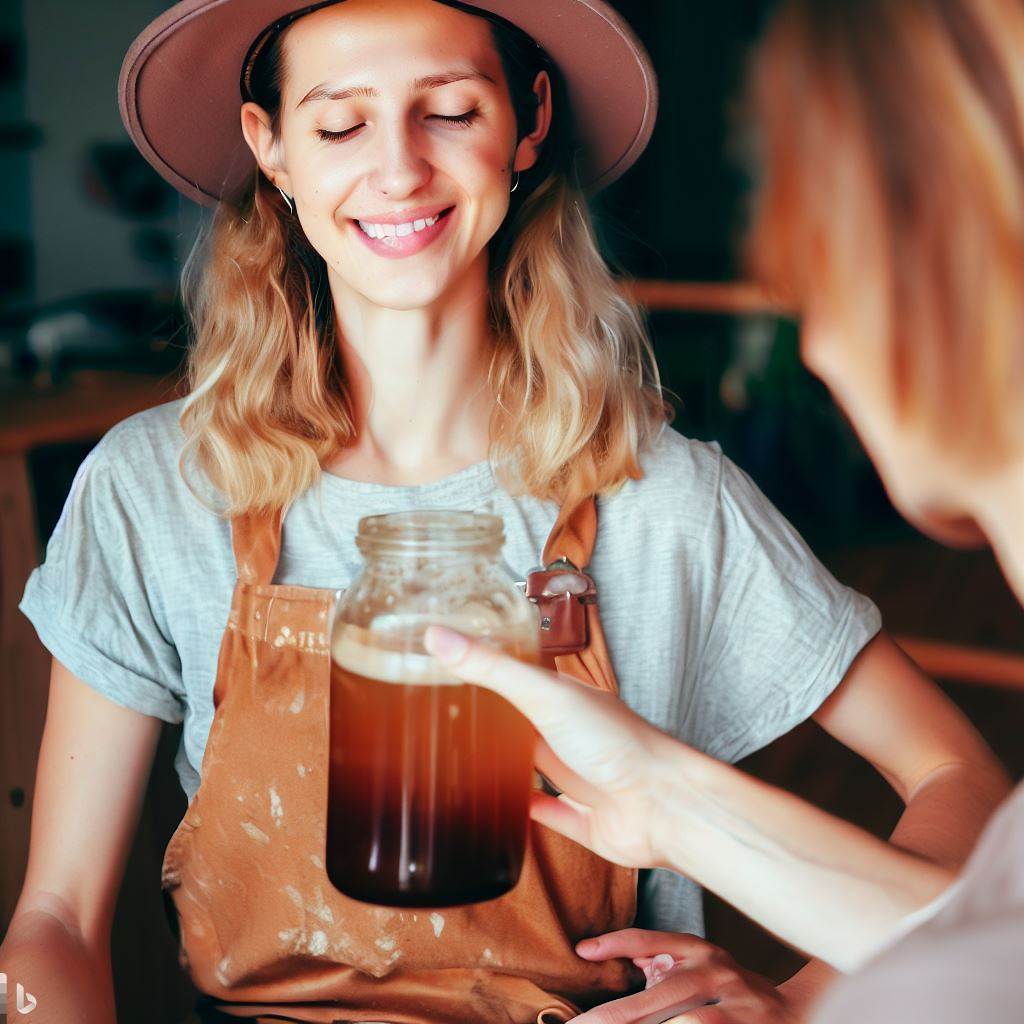
- Sharing and Gifting: Homemade kombucha makes a wonderful gift for friends and family. Sharing your brew fosters a sense of community and allows you to spread the kombucha love.
Now, let’s dive into the step-by-step process of making homemade kombucha a comprehensive guide!
The Basics of Homemade Kombucha
Understanding Kombucha
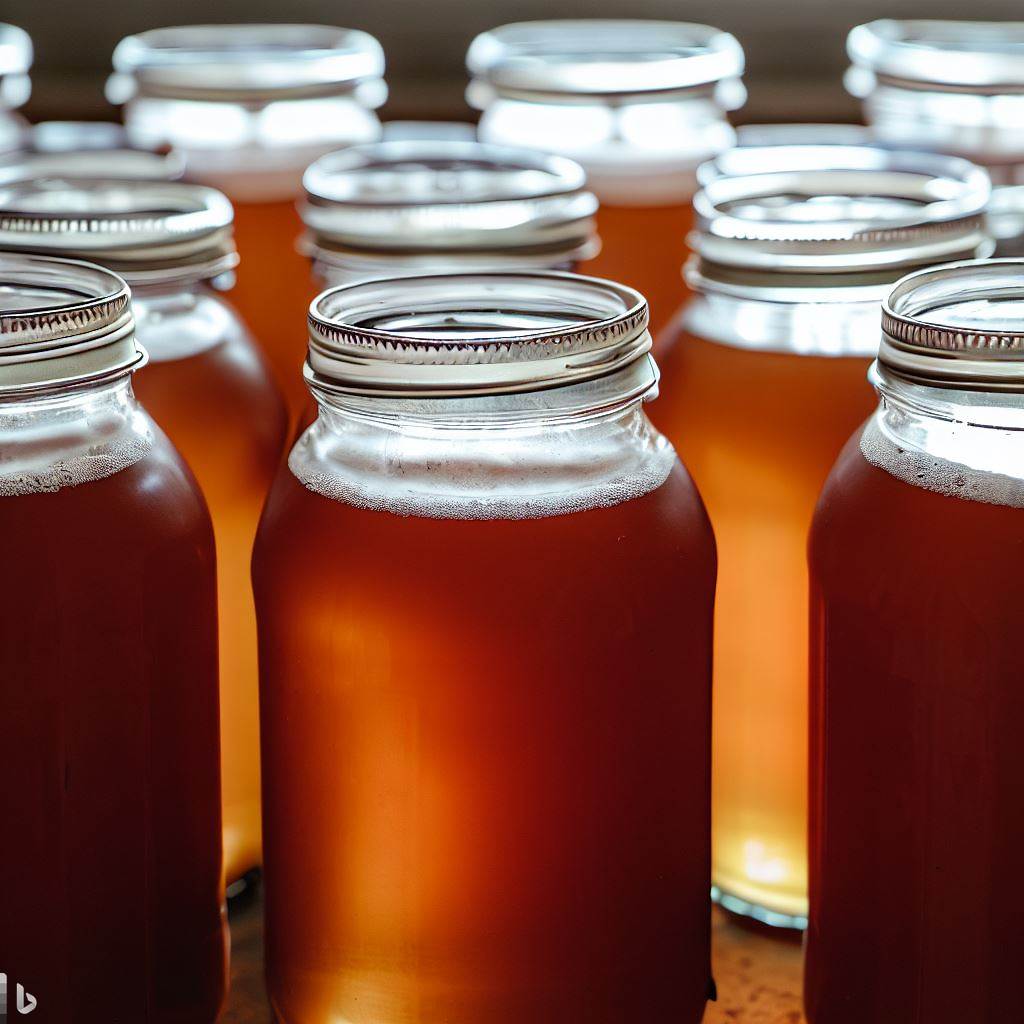
Before we delve into the nitty-gritty of making kombucha, let’s understand what it actually is. Kombucha is a fermented tea beverage created through a symbiotic culture of bacteria and yeast (SCOBY). The SCOBY consumes the sugar in the tea, producing beneficial acids, probiotics, and trace amounts of alcohol.
The flavor of kombucha can range from sweet to tangy, depending on the fermentation time and the added flavorings during the second fermentation. It’s often enjoyed cold, carbonated, and infused with various fruits, herbs, or spices.
The SCOBY: The Mother of Kombucha
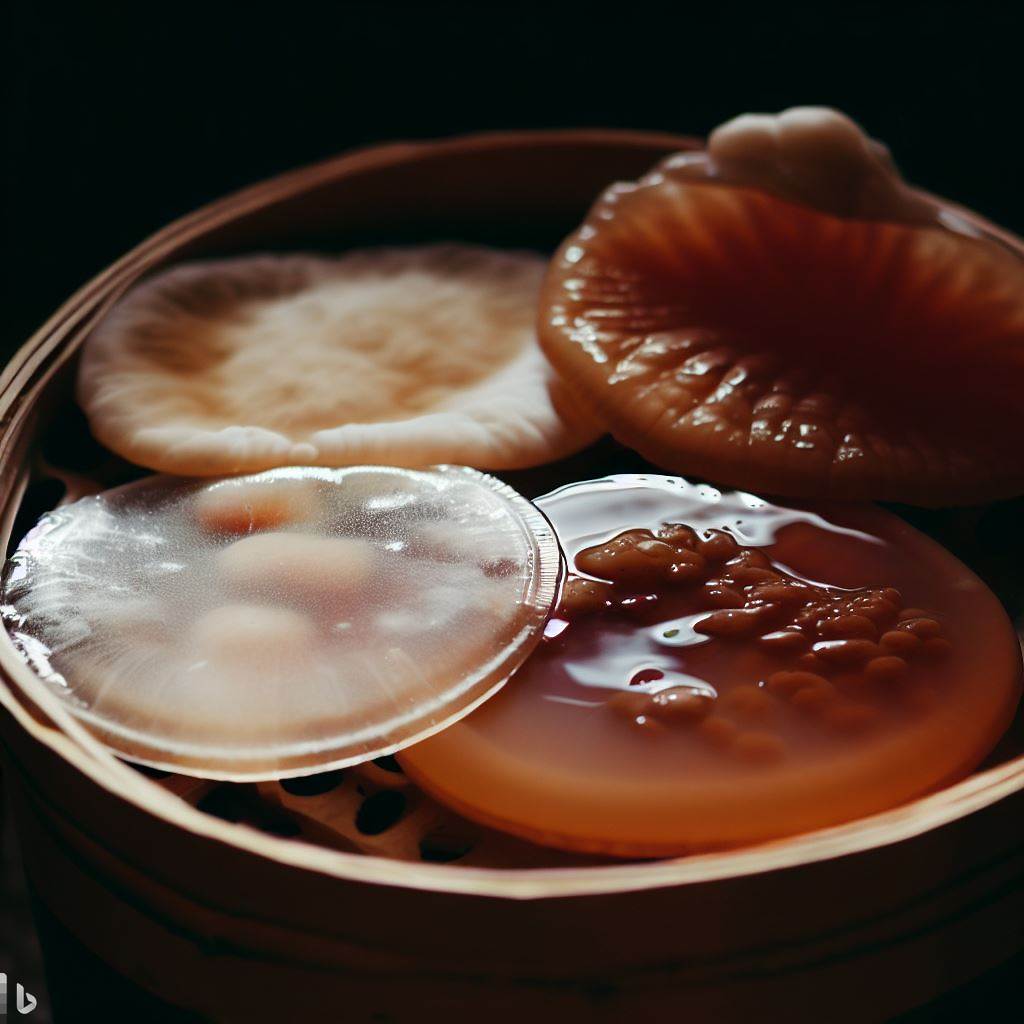
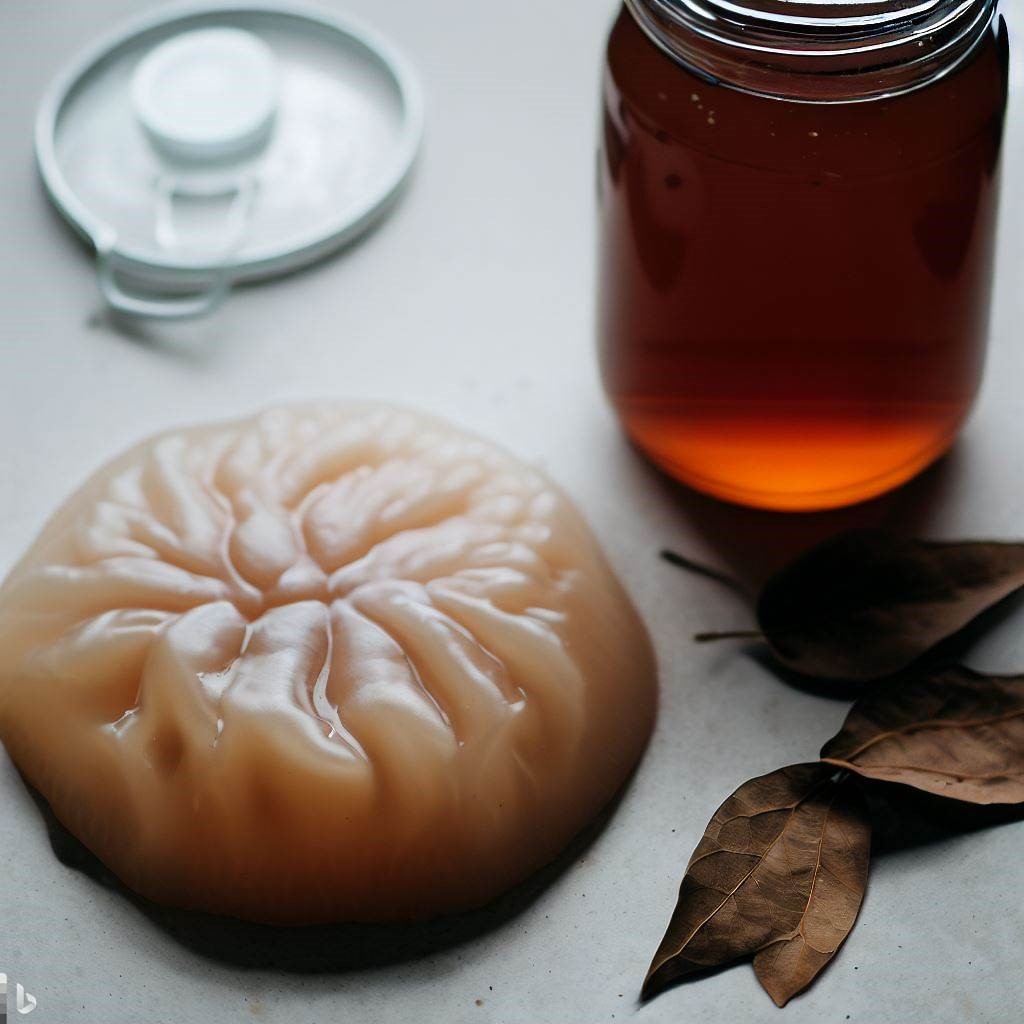
The SCOBY is the heart and soul of kombucha brewing. It’s a thick, rubbery disc that forms on the surface of the sweet tea during fermentation. The SCOBY contains a combination of bacteria and yeast that transform the tea into kombucha.
To start making homemade kombucha, you’ll need a SCOBY. If you don’t have one already, don’t worry! We’ll guide you through the process of creating your own SCOBY in the next section.
Essential Equipment for Homemade Kombucha
Before you begin the kombucha brewing journey, gather the necessary equipment. Here’s a list of essential items:
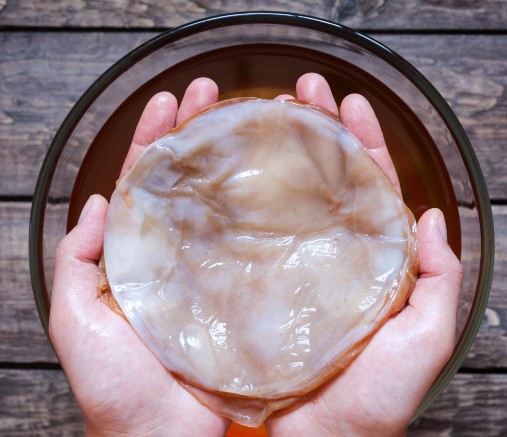
- Large glass or ceramic container: Opt for a container that can hold at least 1 gallon (3.7 liters) of liquid. Make sure it’s free of metal or plastic, as these materials can react with the acidic kombucha and harm the SCOBY.
- Tightly woven cloth or coffee filters: Use these to cover the container and keep out bugs and debris while allowing airflow.
- Rubberbands: These will secure the cloth or coffee filters in place.
- Organic Tea: Choose black tea for the initial fermentation (for new brewers) as it provides essential nutrients for the SCOBY. You can experiment with green, white, or flavored teas in subsequent batches. Loose leaf tea is another option that works just as well!
- Organic Cane Sugar: Organic Cane Sugar is the preferred choice for feeding the SCOBY. Avoid using alternative sweeteners such as honey or artificial sweeteners as they can negatively affect the fermentation process.
- Starter Kombucha: You’ll need unpasteurized, unflavored store-bought kombucha or kombucha from a previous batch to kickstart the fermentation. The live cultures in the starter kombucha will help create the right environment for the SCOBY to thrive.
Now that you have a basic understanding of kombucha and have gathered the necessary equipment, let’s get started with the first step: making a SCOBY! Or instead of making one you can buy a SCOBY.
Step 1: Making a SCOBY
What is a SCOBY?
The SCOBY, an acronym for “symbiotic culture of bacteria and yeast,” is a living organism responsible for fermenting the sweet tea and turning it into kombucha. It forms a rubbery disc that floats on the surface of the liquid, providing a protective layer and allowing the fermentation process to occur.
To make your own SCOBY, you’ll need a few simple ingredients and a bit of patience. Let’s dive into the process step by step.
Ingredients for Making a SCOBY
To create a SCOBY, you’ll need the following ingredients:
- 6 cups distilled or purified water
- ½ cup organic cane sugar
- 5 bags of black tea (or 2 tablespoons of loose leaf)
- 1 cup plain store-bought kombucha
In addition to the ingredients, prepare a large glass or ceramic container that can hold at least 1 gallon of brew.
Instructions for Making a SCOBY
Follow these steps to create your own SCOBY:
- Bring the 6 cups of water to a boil in a clean pot.
- Remove the pot from heat and dissolve ½ cup of cane sugar into the hot water.
- Add 5 bags of black tea to the pot and allow them to steep while the water cools down to room temperature. This may take a few hours.
- Once the sweetened tea has cooled to room temperature, it’s ready to work with. You can test the temperature by drawing out a small amount of tea using a paper straw. It should feel neither hot nor cold to the touch.
- Pour the sweetened tea into your glass or ceramic container. If you’re using two jars, divide the tea equally between them.
- Add 1 cup of unpasteurized, unflavored store-bought kombucha to the container. Ensure that you include any small sediment that may have settled at the bottom of the store-bought kombucha.
- Cover the container with a few layers of tightly woven cloth, such as coffee filters, paper towels, or cheesecloth. Secure the cloth in place with rubber bands to prevent any insects or debris from entering.
- Place the container in a dark, still area with a consistent room temperature of 70-75 degrees Fahrenheit. A dark cupboard or pantry is an ideal location.
- Allow the tea to ferment undisturbed for 7 to 30 days. During this time, a SCOBY will begin to form on the surface of the liquid. Initially, you may only see a thin, translucent layer, but it will gradually thicken over time.
- Keep the SCOBY in its original tea until you’re ready to brew your first batch of kombucha. The SCOBY will continue to grow and can be reused for future batches.
Tips and Tricks for Successful SCOBY Formation

Creating a healthy SCOBY requires a clean and controlled environment. Here are some tips to ensure successful SCOBY formation:
- No decaf tea (for beginners): SCOBYs thrive on the nutrients present in black tea. Avoid using decaffeinated tea, as it may not provide the necessary components for SCOBY growth.
- Stick to black tea: While you can experiment with different teas once your SCOBY is established, it’s best to start with black tea. Black tea contains the necessary tannins and nutrients that support SCOBY formation.
- Avoid honey (aka Jun Tea): Honey can contain botulism bacteria, which can be harmful during the initial stages of SCOBY development. Stick to white sugar for the first fermentation, and you can experiment with alternative sweeteners during the second fermentation.
- Patience is key: The SCOBY formation process can take anywhere from 1 to 4 weeks. Be patient and resist the temptation to disturb or check on the SCOBY too frequently. Trust the process, and you’ll be rewarded with a healthy SCOBY.
Now that you have successfully created your SCOBY, it’s time to move on to the next step: the first fermentation.
Step 2: First Fermentation

Overview of the First Fermentation Process
During the first fermentation, the SCOBY works its magic by consuming the sugar in the tea and transforming it into kombucha. This is where the tea develops its unique tangy flavor and acquires the beneficial acids and probiotics.
In this section, we’ll cover the ingredients needed for the first fermentation, the instructions for the fermentation process, and the factors that can affect its outcome.
Ingredients for First Fermentation
To start the first fermentation, gather the following ingredients:
- 14 cups distilled or purified water
- 1 cup organic cane sugar
- 8 bags of organic black or organic green tea (around 2 tablespoons of loose-leaf)
- 2 cups unflavored kombucha starter from previou batch or store bought
- 1 SCOBY
Ensure that your equipment, such as jars and utensils, is clean and sanitized before starting the fermentation process.
Instructions for First Fermentation
- Bring the 14 cups of water to a boil in a large clean vessel.
- Remove the pot from heat and dissolve 1 cup of cane sugar into the hot water.
- Add 8 bags of black or green tea to the pot and allow them to steep while the water cools down to room temperature. Steep for 15 minutes with bagged tea 30 minutes for loose leaf.
- It’s crucial to wait until the tea is at room temperature before proceeding to avoid harming the SCOBY. Although one way to speed the process is with ice from purified water.
- With clean hands, gently remove the SCOBY from the tea used to make the SCOBY and place it on a clean plate.
- Pour the sweetened tea into your fermentation vessel, leaving some space at the top.
- Add the unflavored kombucha to the vessel.
- Gently place the SCOBY back into the fermentation vessel. The SCOBY may float or sink, which is normal.
- Cover the vessel with a cloth, such as coffee filters. Secure the cloth with rubber bands to keep out fruit flies.
- Place the jar in a dark area that has decent air flow, with a consistent room temperature of 70-75 degrees Fahrenheit.
- Allow the tea to ferment undisturbed for a week (7 days). The length of fermentation will depend on the tempature (season of the year) personal preference and the desired flavor .
- To determine if the kombucha is ready, gently draw out a small amount of tea using a clean straw and taste it. It should be mildly sweet and slightly vinegary.
- Once the desired flavor is achieved, it’s time to move on to the next steps. Reserve 2 cups of the fermented kombucha to use as starter for your next batch. The rest of the kombucha will proceed to second fermentation.
Factors Affecting First Fermentation
During the first fermentation, several factors can influence the outcome of your kombucha. Here are some key points to consider:
- Tea selection: While black tea is the traditional choice for the first fermentation, you can experiment with other teas such as green, white, or flavored teas once your SCOBY is established. However, be mindful that the SCOBY may not thrive as well with these alternative teas.
- Temperature: The fermentation process is affected by temperature. Warmer temperatures (closer to 75 degrees Fahrenheit or 24 degrees Celsius) will result in a faster fermentation, while cooler temperatures will slow it down. Maintain a consistent room temperature within the recommended range for optimal results. Check out our article on Brewing in the Different Seasons.
- Taste testing: It’s important to regularly taste your kombucha during the first fermentation to gauge its flavor development. This will help you determine the ideal fermentation time for future batches. Use a paper straw or a clean spoon to draw out a small sample of kombucha for tasting.
- Brewing vessel: Ensure that your fermentation glasses are clean. Metal and plastic containers can react with the kombucha and harm the SCOBY and are not reccomended for first time brewers. The jar should be at least 1 gallon but can be larger for bigger batches or continuous brews.
Congratulations! You’ve successfully completed the first fermentation and have a batch of homemade kombucha ready to proceed to the next step. In the following section, we’ll explore the exciting process of the second fermentation, where you can infuse your kombucha with unique flavors and achieve carbonation.
Step 3: Second Fermentation
Understanding the Second Fermentation
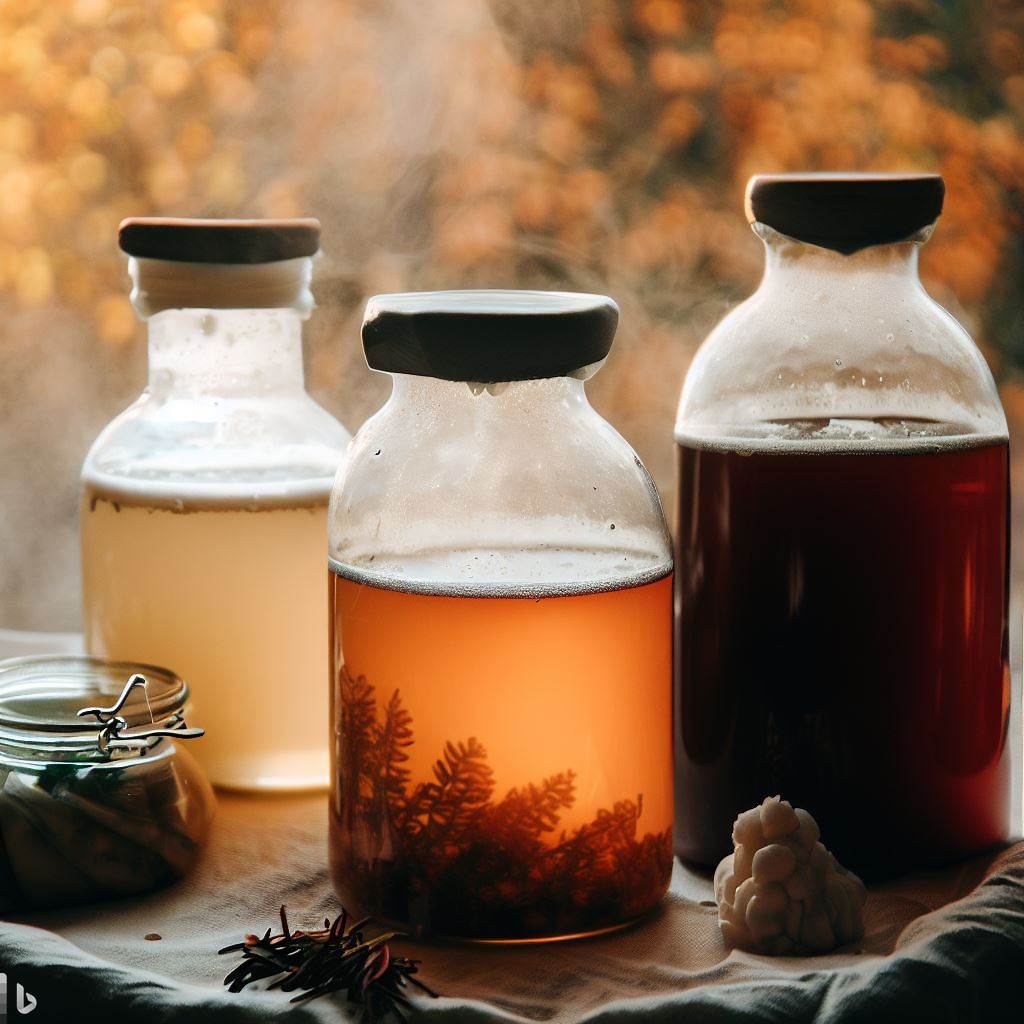
The second fermentation is where the real fun begins. This step allows you to infuse your kombucha with flavors, achieve carbonation, and create a fizzy, delightful beverage.
During the second fermentation, you’ll bottle your kombucha, add flavorings or sweeteners, and let it sit for a period of time to develop carbonation. The duration of the second fermentation depends on personal preference and desired carbonation levels.
In this section, we’ll cover the ingredients needed for the second fermentation, the process of flavoring and carbonation, and tips to achieve the perfect fizzy kombucha.
Ingredients for Second Fermentation
To embark on the second fermentation journey, gather the following ingredients:
- Homemade kombucha from the first fermentation
- Sweeteners or flavorings of your choice. Here are a few ideas per 32 ounces (1/4 of a gallon) of classic first fermented kombucha:
- 1/4 cup of Cane Sugar
- 1 Cup of Orange Juice
- 1/4 cup teaspoons of honey
- A few pieces of peppermint candy
- A few pieces of candied ginger
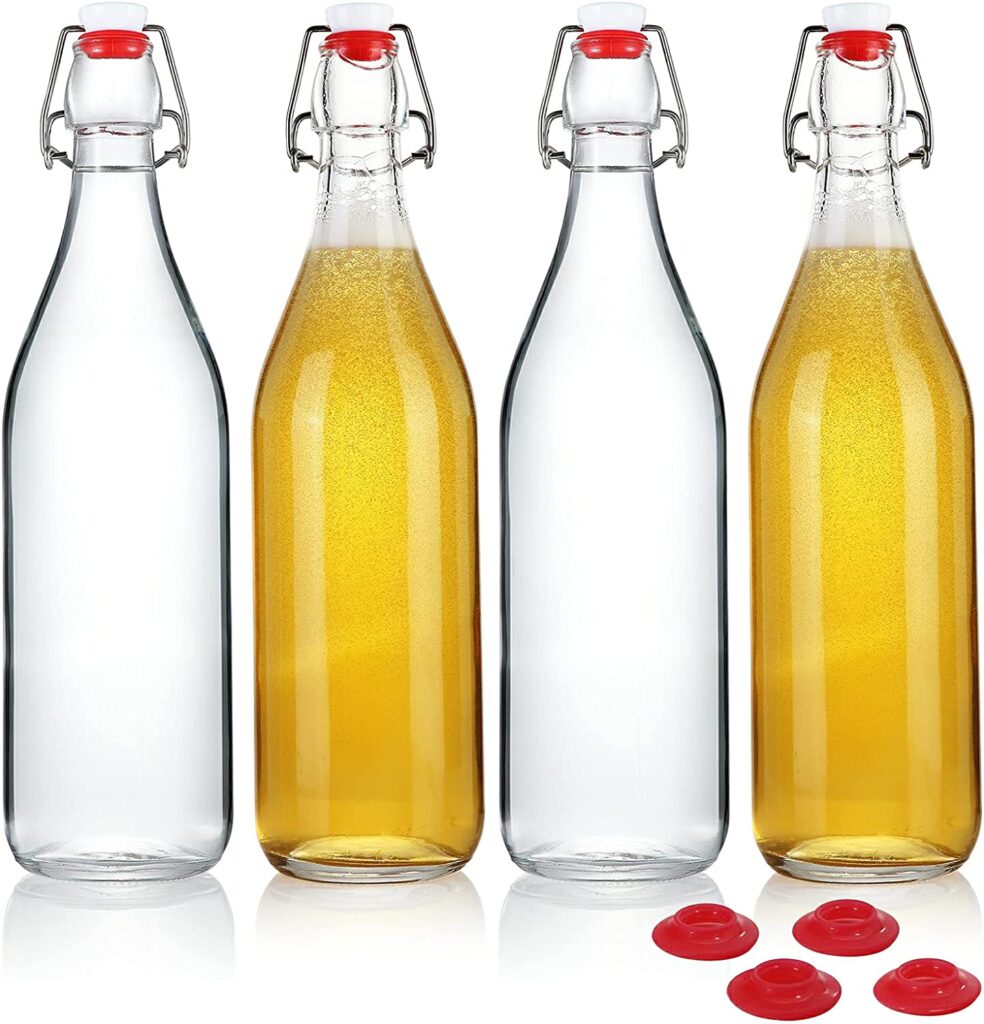
Additionally, you’ll need airtight fermentation bottles or jars with a tight seal. Flip-top bottles are ideal for achieving carbonation, but if you don’t have them, canning jars with lids can work as well.
Instructions for Second Fermentation
Follow these steps to create a beautifully carbonated and flavored kombucha during the second fermentation:
- Strain your homemade kombucha from the first fermentation using a fine-mesh strainer or cheesecloth into a clean container. This will remove any sediment or small particles, resulting in a clearer final product.
- Using a funnel, carefully pour the strained kombucha into your fermentation bottles, leaving about 1 inches of headspace at the top of the bottle. This extra space is necessary to allow carbonation to build up.
- Add your chosen juice, sugar, honey, spices or flavoring to each bottle. The amount can vary depending on your taste preferences and the intensity of flavor you desire. Feel free to experiment with different combinations and ratios.
- Seal the bottles tightly with their respective lids. Ensure that the lids create an airtight seal to trap the carbonation.
- Place the bottles in a dark and room-temperature location for the second fermentation. The duration of this fermentation can range from 3 to 10 days, depending on the desired level of carbonation and flavor development. Keep in mind that warmer temperatures will speed up the fermentation process, while cooler temperatures will slow it down.
- Throughout the second fermentation, monitor the carbonation levels by gently “burping” the bottles. Open each bottle over a sink or a towel to release excess pressure. If the kombucha fizzes and produces a satisfying pop, it’s an indication that carbonation has built up. If the carbonation is not yet to your liking, continue the fermentation for a few more days before burping again. You must burp the bottles regularly or risk kombucha explosion! This is a key point! Another way to lower this risk is to do Second Fermentation in a cooler.
- Once you’re satisfied with the carbonation levels, transfer the bottles to the refrigerator to slow down the fermentation process. This will help maintain the carbonation and prevent over-pressurization.
- Before serving, you may choose to strain out any fruit or flavoring particles from the kombucha. This step is optional and depends on personal preference.
Tips for a Successful Second Fermentation

Achieving the perfect carbonation and flavor profile requires a few tricks of the trade. Consider the following tips for a successful second fermentation:
- Bottle selection: Using fermentation bottles with a tight seal, such as flip-top bottles, is highly recommended. These bottles are designed to retain carbonation and prevent leaks. However, if you don’t have specific fermentation bottles, canning jars with lids can still produce decent carbonation.
- Monitor carbonation: To prevent bottle explosions caused by excessive pressure, it’s crucial to monitor the carbonation levels throughout the second fermentation. “Burping” the bottles by gently opening them to release excess pressure is an essential safety measure. Start burping after a few days and continue until you’re satisfied with the carbonation.
- Experiment with flavors: The second fermentation is your chance to get creative with flavors. Feel free to experiment with various fruits, herbs, spices, or even combinations of them. The options are endless, and you can create unique flavor profiles that suit your taste preferences.
- Temperature control: Keep in mind that warmer temperatures will speed up the fermentation process and carbonation, while cooler temperatures will slow them down. Adjust the fermentation duration based on the room temperature and your desired carbonation levels.
Congratulations! You’ve completed the second fermentation, and now you have your very own homemade kombucha with delightful flavors and sparkling carbonation. It’s time to savor the fruits of your labor or try Third Fermentation with our brewing guide on that.
Want a Quickstart?
Starter kit: If you’re eager to start brewing kombucha and want to simplify the process, consider purchasing a starter kit. These kits usually include essential equipment such as fermentation vessels, SCOBYs, and starter tea. If you go with a Kombucha Starter kit will will move you along faster in the process for Homemade Kombucha A Comprehensive Guide.
Now that you have a comprehensive understanding of the kombucha brewing process, from creating a SCOBY to the first and second fermentations, you’re well-equipped to embark on your homemade kombucha adventure. Get creative with recipes see our top 25 and experiment with different tea blends. Now its time to enjoy the fizzy, probiotic-rich goodness that you’ve crafted with your own hands.
Favorite Kombucha Flavors
While the possibilities for kombucha flavors are endless, here are some of my personal favorites to inspire your own experiments. Feel free to let your imagination run wild and come up with unique flavor combinations that excite your taste buds. Kombucha is a versatile beverage that can be customized to suit your preferences. See our Top 25 Flavors of Kombucha as well as our Mocktail series.
FAQ – Homemade Kombucha A Comprehensive Guide
1. Can you get drunk off of kombucha?
Most commercially available kombucha contains less than 0.5% alcohol by volume (ABV). Therefore, it is highly unlikely to get drunk from drinking kombucha, as the alcohol content is minimal. However, homemade kombucha can vary in alcohol content depending on factors such as fermentation time and sugar content. If you’re concerned about alcohol content, it’s advisable to monitor the fermentation process and consume kombucha in moderation. Although if you want to brew Hard Kombucha. We got you covered.
2. What are the side effects of kombucha?
While kombucha is generally considered safe for consumption, it may cause certain side effects in some individuals. These can include:
- Digestive discomfort: Kombucha is rich in probiotics, which can cause temporary digestive symptoms such as bloating or gas, especially if consumed in large quantities or if you’re not accustomed to probiotic-rich foods.
- Caffeine and sugar sensitivity: Kombucha brewed from black or green tea contains caffeine and sugar. Individuals who are sensitive to caffeine or have dietary restrictions regarding sugar should consume kombucha in moderation.
- Allergic reactions: Although fairly rare, some people may be allergic to specific ingredients used in flavorings or additives. If you experience any allergic reactions after consuming kombucha, discontinue its consumption and consult a healthcare professional.
If you have any pre-existing health conditions or concerns, it’s advisable to consult with a healthcare professional before incorporating kombucha into your diet.
3. What are the health benefits of kombucha?
Kombucha offers potential health benefits due to its probiotic content and antioxidant properties. Here are some of the possible health benefits associated with regular kombucha consumption:
- Gut health: Kombucha is rich in probiotics, which are beneficial bacteria that support a healthy gut microbiome. Consuming probiotics may aid digestion, support the immune system, and promote overall gut health.
- Antioxidant properties: Kombucha contains antioxidants that help neutralize harmful free radicals in the body, potentially reducing oxidative stress and inflammation.
- Detoxification: Some studies suggest that kombucha may aid in detoxification by supporting liver function and promoting the elimination of toxins from the body.
- Potential immune system support: Probiotics in kombucha may contribute to a healthy immune system by supporting the balance of beneficial bacteria in the gut.
It’s important to note that scientific research on kombucha’s health benefits is still ongoing, and individual experiences may vary. Kombucha should not be considered a cure-all or a substitute for medical advice or treatment.
4. Can you put kombucha in the refrigerator?
Yes, you can put kombucha in the refrigerator. Not only can you, but you should put kombucha in a refrigerator after 2nd Fermentation. Refrigeration slows down the fermentation process, reducing carbonation and slowing the growth of bacteria and yeast. If you want to take a break from fermenting or prefer chilled kombucha, storing it in the refrigerator is recommended. However, be aware that prolonged refrigeration may result in a decrease in carbonation over time.
5. Can you use no-calorie sugars (like Stevia, Splenda, etc.)?
In the first fermentation, it’s essential to use a sugar source that provides nutrients for the SCOBY. No-calorie sweeteners like Stevia or Splenda do not provide the necessary nutrients for fermentation and SCOBY growth. Therefore, it’s best to use regular sugar (white sugar) during the first fermentation.
During the second fermentation, you can experiment with alternative sweeteners like honey, fruit, or even Stevia or Splenda. However, be aware that the SCOBY may not thrive as well with these alternative sweeteners, and the resulting carbonation and flavor profile may differ.
Remember to always monitor the fermentation process and taste the kombucha regularly to ensure the desired level of sweetness and carbonation.

Thank you for reading GMK’s Blog Post on Homemade Kombucha A Comprehensive Guide. Read on young Paduan!

