Today, we’re diving into the effervescent world of kombucha’s second fermentation and the bottling that is needed in this phase. This crucial step is where your brew develops its signature fizz and flavor. But, it’s also a stage that requires careful handling to ensure safety as this is where explosions can happen too! So, let’s explore how to bottle kombucha safely during second fermentation.
The Art of Safely Bottling Your Kombucha: A Guide to Second Fermentation
The second fermentation, often referred to as F2, is where the magic truly happens. After the initial fermentation, your kombucha might taste a bit flat. But fear not! The second fermentation is here to save the day. It’s during this stage that your brew develops its delightful carbonation and deepens in flavor. But in order to get the carbonation you need airtight bottles for the fizziness to build up as the C02 is made in the fermentation process.
Choosing the Right Bottles
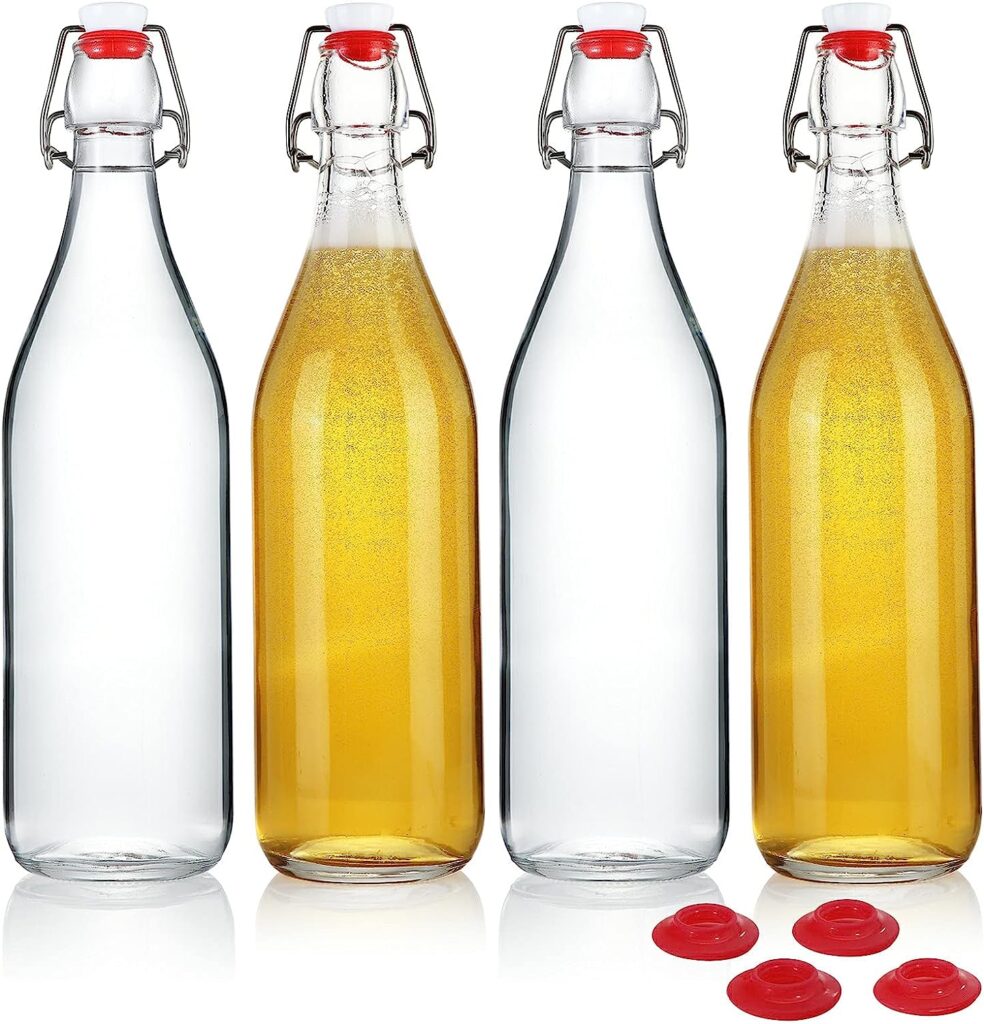
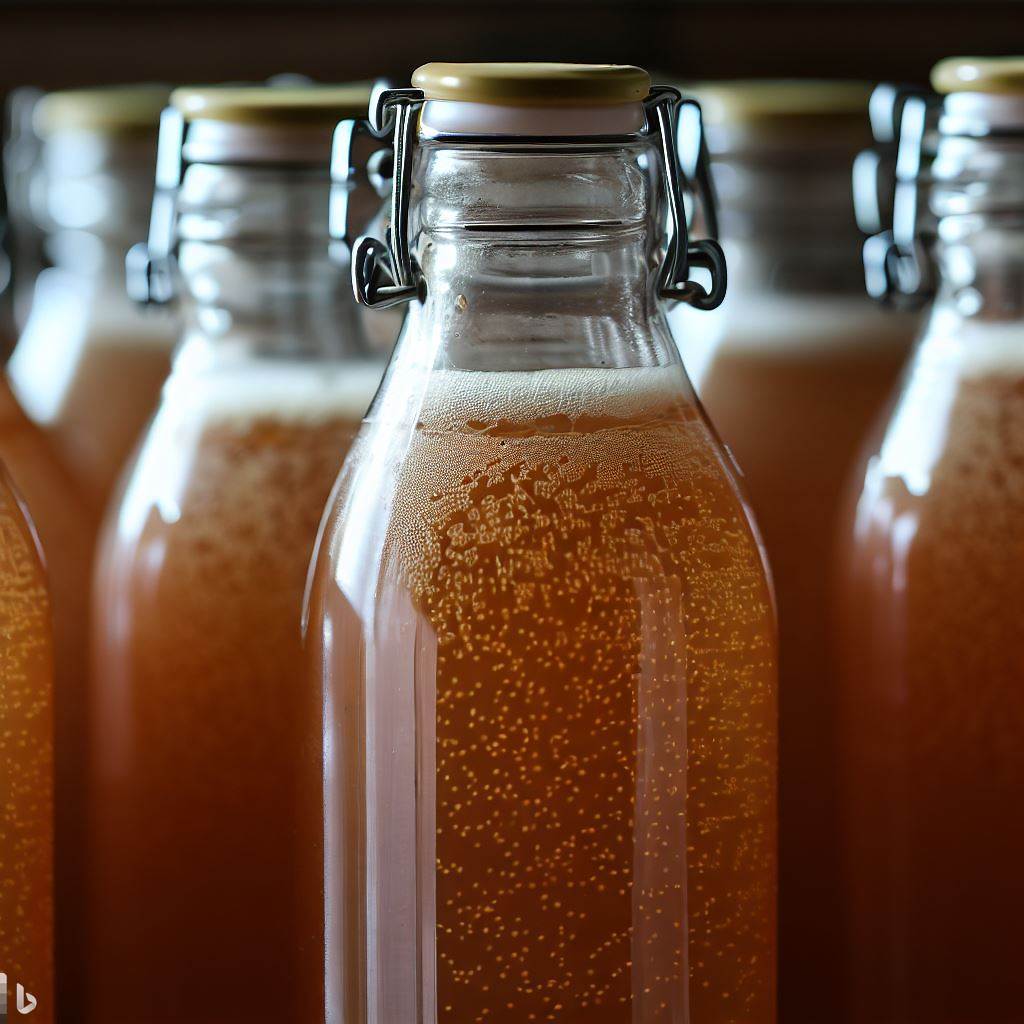
The first step in safely bottling your kombucha is choosing the right containers. You need bottles that are airtight and can withstand pressure. Glass flip-top bottles, designed for carbonated beverages, are a popular choice. They’re sturdy, reusable, and their seal is perfect for trapping in the carbonation.
Preparing Your Bottles
Before you start, ensure your bottles are clean and dry. Rinse them with hot water, then with distilled white vinegar or dish soap. This step is crucial to prevent any unwanted bacteria from spoiling your brew.
The Bottling Process
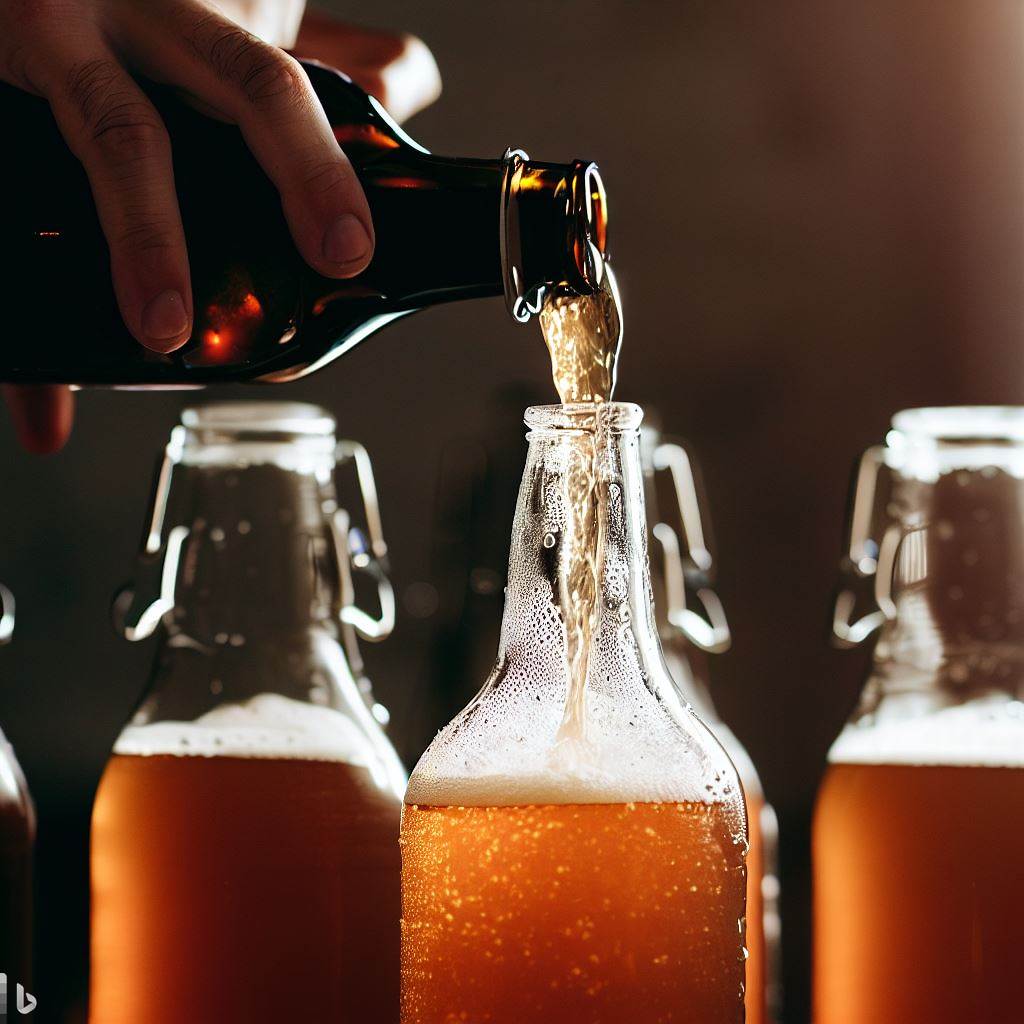
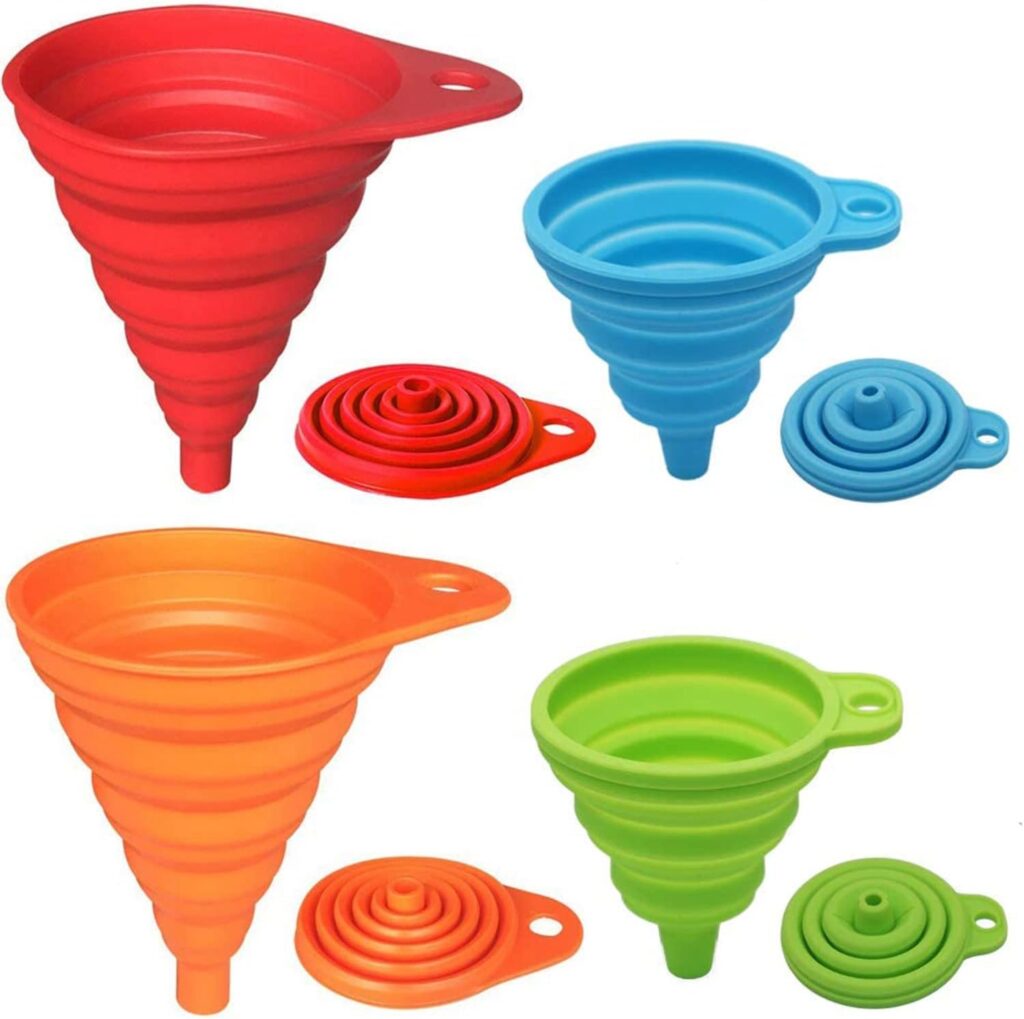
Now, let’s get down to business. Pour your fermented kombucha into the bottles, leaving about an inch of space at the top. This space, known as ‘headspace’, is essential for building up the carbonation. You’ll likely need a funnel to help with this process. We like the plastic folding ones!
Next, add your chosen flavorings. This could be anything from fresh fruit to herbs or spices. Remember, the sugars in these additions will feed the fermentation process, enhancing the fizziness and flavor of your kombucha. More sugar equals more fizziness. Sometimes we even add a tablespoon or two of cane sugar at this point to ramp up the carbonation.
The Waiting Game
Once your kombucha is safely bottled, it’s time to let the second fermentation begin. Store your bottles in a warm, dark place for anywhere from a few days to a week. The exact timing will depend on your taste preferences and the temperature of your storage area.
Safety First: The Art of Burping
During the second fermentation, it’s important to ‘burp’ your bottles. This process involves briefly opening the bottles to release excess carbonation, preventing overpressure. Burping your bottles daily helps avoid the risk of them exploding due to too much pressure build-up. If you don’t burp you can run the risk of bottle explosion, which is no fun!
The Final Step: Refrigeration
After the second fermentation is complete, move your bottles to the refrigerator. The cold temperature slows down the fermentation process, maintaining the perfect level of carbonation and preventing over-fermentation.
Bottling your kombucha during the second fermentation is an art. It requires careful attention to detail and a focus on safety. But with these steps, you’re well on your way to creating a delicious, fizzy, and flavorful kombucha.
Now, it’s over to you. What’s your favorite part of the kombucha brewing process, and why? Share your thoughts and experiences in the comments below!
Thanks for reading on How to Bottle Kombucha Safely. Check our more GMK Articles:
- Importance of Kombucha Refrigeration
- Using a Cooler in Second Fermentation
- Our Favorite Kombucha Flavor

