Outline: Removing Bottle Labels
- I. Introduction on Removing Bottle Labels
- II. Benefits of Removing Labels
- III. Methods for Removing Labels
- IV. Tips and Tricks for Label Removal
- V. Reusing and Repurposing Bottles
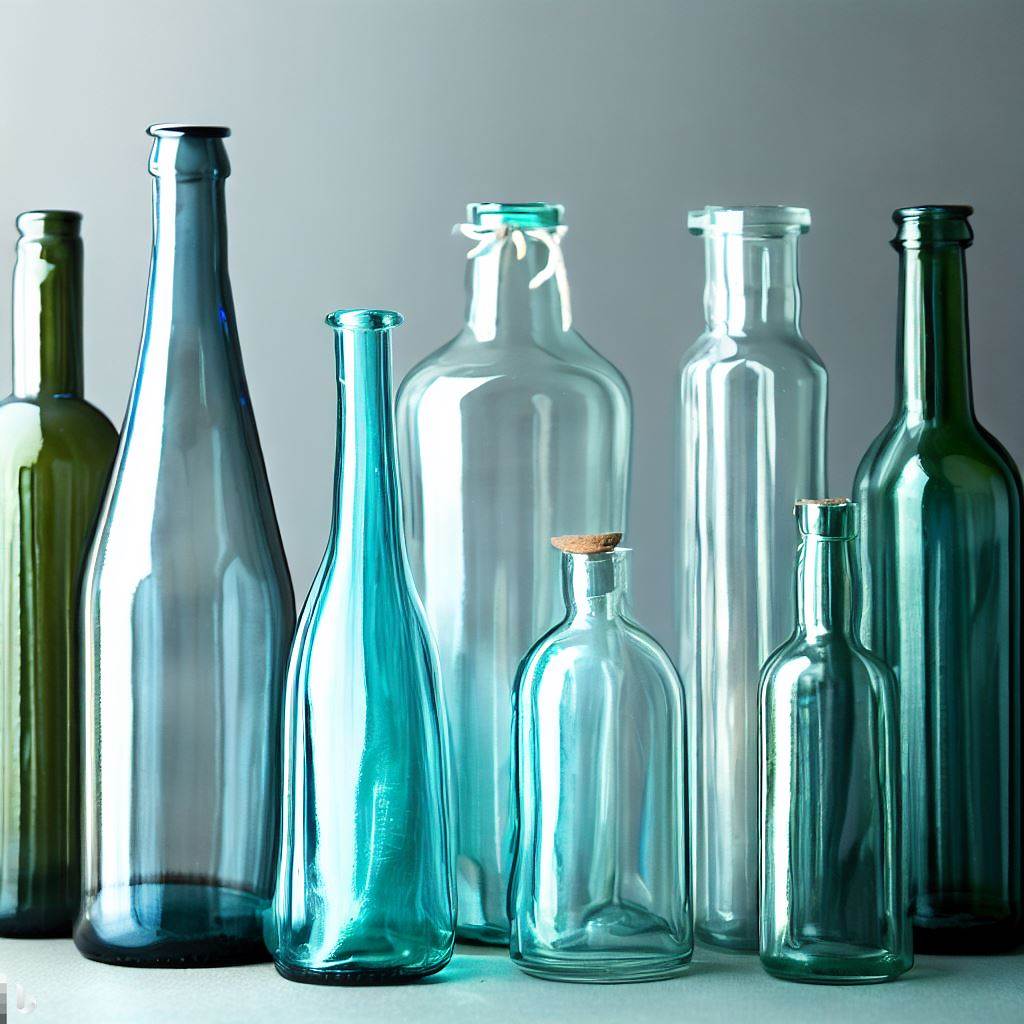
- VI. Label-Free Bottles
- VII. The Future of Bottle Labeling
- VIII. Conclusion
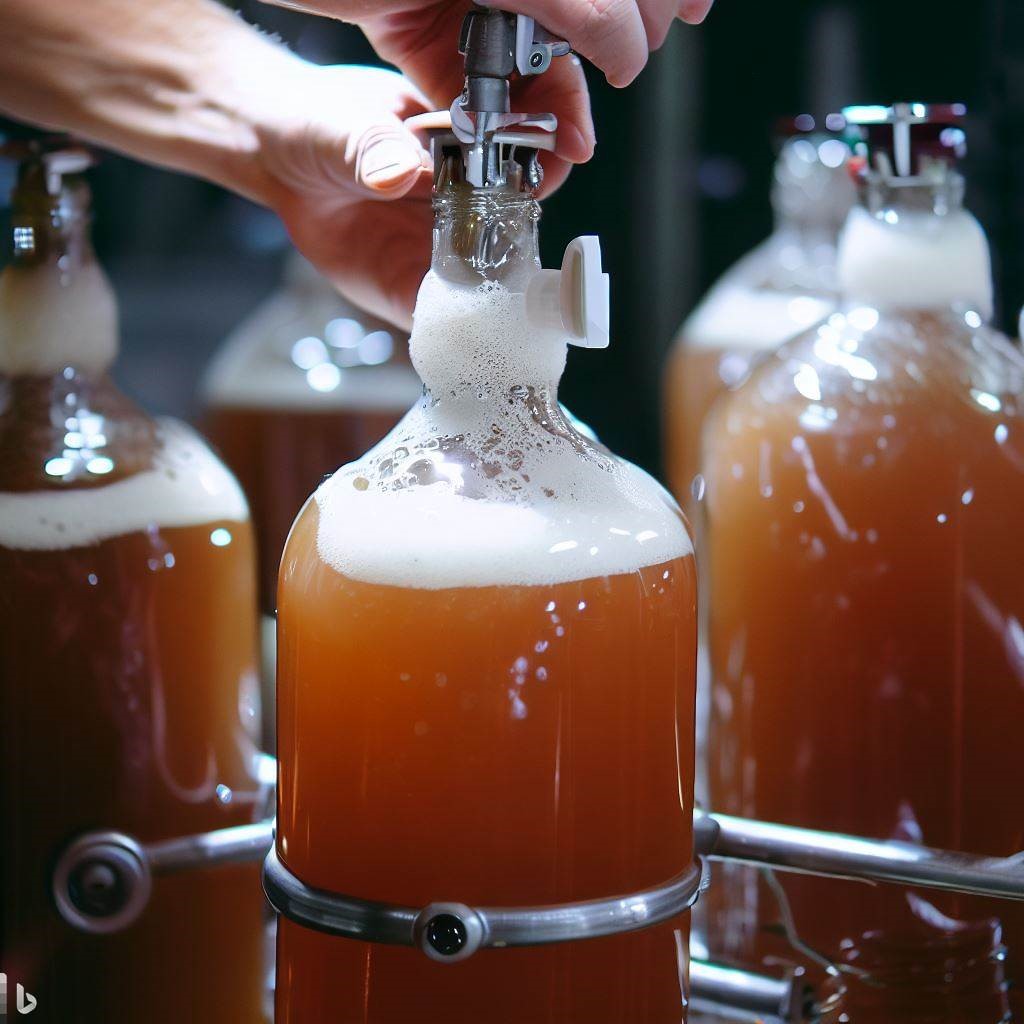
Removing Bottle Labels for Kombuhca Brewing
Introduction
Labels on store-bought bottles often play a significant role in providing essential information, such as product details, ingredients, and warnings. However, these labels can become a nuisance when it comes to reusing or recycling the bottles. In this blog post, we will explore the various reasons why removing labels from store-bought bottles is important and beneficial. We will also delve into effective methods for removing labels, share tips and tricks, discuss the possibilities of reusing and repurposing bottles, explore business and event applications, and glimpse into the future of bottle labeling. Lets dive into “Removing Bottle Labels” today!
Benefits of Removing Bottle Labels
Enhanced Aesthetics and Appearance
Removing labels from store-bought bottles can instantly enhance their aesthetics and appearance. Labels often leave behind unsightly residue, glue stains, or bits of torn paper, which can make the bottles look unattractive. By removing these labels, you can showcase the bottle’s true beauty, whether it’s a sleek glass container or a colorful plastic bottle.
Easier Identification of Contents
Label-free bottles allow for easier identification of their contents. Without labels obstructing the view, it becomes effortless to locate the desired liquid, be it a refreshing beverage or a household cleaning solution. This convenience saves time and eliminates confusion, especially when dealing with multiple similar-looking bottles.
Simplified Recycling Process
Properly removing labels from bottles improves the recycling process. Many recycling facilities require bottles to be free from labels to ensure efficient processing. Labels, especially those made from different materials or adhesives, can contaminate recycling streams or cause damage to recycling equipment. By removing labels, you contribute to a smoother recycling process and help protect the environment.
Methods for Removing Labels
When it comes to removing labels from store-bought bottles, several methods have proven to be effective. Each method offers its own set of advantages and can be chosen based on the bottle’s material, the label’s stickiness, and personal preference. Let’s explore three popular methods: soaking and scrubbing, heat and steam, and commercial adhesive removers.
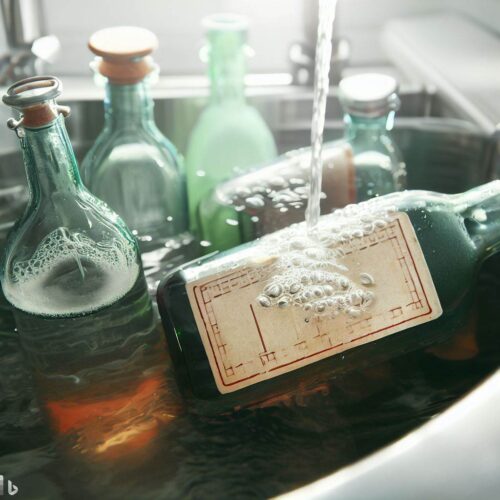
Soaking and Scrubbing
Soaking and scrubbing is a simple and cost-effective method for removing labels. Here’s a step-by-step process:
- Materials needed:
- Warm water
- Dish soap or mild detergent
- Soft sponge or cloth
- Plastic scraper or credit card
- Step-by-step process:
- Fill a sink or basin with warm water and add a few drops of dish soap or mild detergent.
- Place the bottle in the soapy water, ensuring that the label is completely submerged.
- Let the bottle soak for 30 minutes to an hour, allowing the water and detergent to soften the adhesive.
- After soaking, take the bottle out of the water and use a soft sponge or cloth to gently scrub away the label and residue.
- For stubborn residue, use a plastic scraper or credit card to scrape it off, being careful not to scratch the bottle’s surface.
- Rinse the bottle thoroughly with water to remove any remaining soap or residue.
Heat and Steam
Using heat and steam can be an effective method for removing labels, particularly on glass bottles. Here’s how you can do it:
- Materials needed:
- Boiling water
- Heat-resistant gloves or tongs
- Soft cloth or sponge
- Rubbing alcohol (optional)
- Razor blade or scraper (for glass bottles only)
- Step-by-step process:
- Boil water in a pot or kettle.
- Carefully pour the boiling water over the label or submerge the bottle in the boiling water for a few minutes, ensuring your safety with heat-resistant gloves or tongs.
- Use a soft cloth or sponge to peel off the label while it is still hot. Be cautious to avoid burning yourself.
- For stubborn adhesive residue, dampen a cloth with rubbing alcohol and gently rub the area.
- If you’re dealing with a glass bottle, you can also use a razor blade or scraper tool, like this one, to scrape off any remaining residue. Take extra care not to scratch the glass surface.
- Finally, rinse the bottle with water to remove any residue or alcohol.
Commercial Adhesive Removers
Commercial adhesive removers are specifically formulated to remove sticky residue and labels. They come in various types, including spray-on solutions, gels, or wipes. Here’s what you need to know:
- Types of removers available:
- Citrus-based removers: These are made from natural citrus extracts and are effective in removing adhesive residue. They have a pleasant scent and are generally safe to use.
- Solvent-based removers: These contain powerful solvents that dissolve adhesive bonds. They are highly effective but may have a strong odor and require proper ventilation during use.
- Biodegradable removers: These eco-friendly options are made from plant-based ingredients and are safer for both the user and the environment.
- Usage instructions and precautions:
- Read and follow the instructions provided by the manufacturer for the specific adhesive remover you choose.
- Apply the remover to the label or residue according to the instructions, and allow it to penetrate for the recommended duration.
- Use a soft cloth or sponge to wipe away the softened label or residue.
- For stubborn residue, repeat the process or try using a plastic scraper or credit card to gently scrape it off.
- Follow any safety precautions mentioned on the product label, such as wearing gloves or using the remover in a well-ventilated area.
Tips andTricks for Label Removal
Removing labels from store-bought bottles can sometimes be challenging, especially if the labels are stubborn or made from materials that are resistant to typical removal methods. Here are some tips and tricks to make the label removal process more effective:
Testing the Label for Removability
Before attempting to remove the label from a bottle, it’s a good idea to test its removability. This can save you time and effort by ensuring that the label can be easily peeled off without leaving behind excessive residue. Here’s how you can test the label:
- Select a small corner or edge of the label.
- Gently peel it back to see if it comes off smoothly.
- If the label tears or leaves behind residue even with minimal peeling, it may require additional steps or a different removal method.
Using Natural Ingredients for Stubborn Labels
For particularly stubborn labels or adhesive residue, you can try using natural ingredients to aid in the removal process. Here are a few options:
- Vinegar: Soak a cloth or sponge in vinegar and apply it to the label or residue. Let it sit for a few minutes to allow the vinegar to penetrate. Then, gently scrub the area to remove the label or residue.
- Baking Soda Paste: Mix baking soda with water to create a thick paste. Apply the paste to the label or residue and let it sit for a few minutes. Scrub the area with a soft cloth or sponge to remove the label or residue.
- Mayonnaise: Apply a thin layer of mayonnaise to the label or residue and let it sit for several hours or overnight. The oils in the mayonnaise can help break down the adhesive. Wipe off the mayonnaise and scrub the area to remove the label or residue.
Preventing Residue and Glue Stains
To minimize the chances of label residue or glue stains, you can follow these preventive measures:
- Peel Slowly: When removing labels, peel them off slowly and evenly. Rapid or forceful peeling can cause the label to tear and leave behind residue.
- Apply Heat: Use a hairdryer or heat gun to gently warm the label before peeling it off. The heat helps soften the adhesive, making it easier to remove without residue.
- Use Rubbing Alcohol: After removing the label, wipe the bottle with rubbing alcohol to remove any remaining adhesive or residue. This will leave the bottle clean and free from sticky substances.
- Clean Immediately: If you notice any residue or glue stains after removing a label, clean the bottle as soon as possible. The longer the residue sits on the bottle, the more difficult it may be to remove.
Reusing and Repurposing Bottles
Removing labels from store-bought bottles opens up a world of possibilities for reusing and repurposing them. Instead of discarding bottles, consider these creative ideas for giving them a second life:
Creative DIY Ideas for Repurposing Bottles
- Vases and Flower Pots: Clean and decorate bottles to use as unique vases or small flower pots. You can paint them, wrap them in twine or fabric, or add other decorative elements to match your home decor.
- Candle Holders: Place candles inside cleaned bottles to create stylish candle holders. You can even experiment with different bottle shapes and sizes to create a visually appealing display.
- Storage Containers: Use bottles to store small items like spices, craft supplies, or office accessories. Add labels or paint the bottles for easy identification.
- DIY Lamps: Transform bottles into eye-catching lamps by inserting string lights or LED candles. This creates a warm and inviting ambiance in any room.
- Terrariums: Create mini-gardens inside clear glass bottles. Layer soil, pebbles, and plants to make your own self-sustaining ecosystem.
Environmental Benefits of Reusing Bottles
Repurposing and reusing bottles have significant environmental benefits. By giving bottles a second life, you contribute to:
- Reduced Waste: Reusing bottles reduces the amount of waste that ends up in landfills or recycling facilities. This helps conserve resources and reduces the environmental impact of manufacturing new bottles.
- Energy Conservation: Repurposing bottles eliminates the need for energy-intensive manufacturing processes required to create new products. By reusing bottles, you help conserve energy and reduce carbon emissions.
- Promoting a Circular Economy: Embracing reuse practices promotes the concept of a circular economy, where materials are kept in circulation for as long as possible. This reduces the demand for new resources and fosters a more sustainable future.
Steps to Properly Clean and Prepare Reused Bottles
When reusing bottles, it’s important to clean them thoroughly to ensure hygiene and safety. Here’s a simple process to clean and prepare reused bottles:
- Remove Labels: Use the label removal methods mentioned earlier in this blog post to remove any labels or adhesive residue from the bottles.
- Wash with Soap and Water: Fill a sink or basin with warm water and add a few drops of dish soap or mild detergent. Submerge the bottles and use a soft sponge or brush to scrub the inside and outside of each bottle. Rinse them thoroughly with water.
- Sanitize: To ensure proper sanitation, you can sanitize the bottles by using one of the following methods:
- Boiling Water: Submerge the bottles in a pot of boiling water for a few minutes. This kills any bacteria or germs that may be present.
- Bleach Solution: Prepare a solution of 1 tablespoon of bleach per gallon of water. Submerge the bottles in the solution for a few minutes, then rinse them thoroughly with water.
- Dishwasher: If the bottles are dishwasher-safe, place them in the dishwasher and run a full cycle with hot water and detergent.
- Air Dry: After cleaning and sanitizing, allow the bottles to air dry completely before using them for your chosen purpose. This helps prevent the growth of mold or bacteria.
Label-Free Bottles in Business and Events
Label-free bottles have various applications in business settings and special events. Let’s explore a few scenarios where label-free bottles can make a difference:
Custom Branding and Personalized Labeling
In business settings, using label-free bottles provides an opportunity for custom branding and personalized labeling. By opting for bottles without pre-attached labels, businesses can apply their own branded stickers or labels that showcase their logo, product information, or promotional messages. This allows for a more cohesive and visually appealing presentation of their products.
For example, a local craft brewery can use label-free bottles and design their own unique labels that capture the essence of their brand. This not only adds a personal touch but also allows the brewery to convey their story and values to customers.
Label-Free Bottles for Special Occasions
Label-free bottles are also ideal for special occasions such as weddings, birthdays, or corporate events. They provide a blank canvas for customization, allowing hosts to create personalized labels or decorations that match the theme or message of the event. Whether it’s a monogram, a thank-you message, or a creative design, label-free bottles can add a touch of elegance and uniqueness to any celebration.
Practical Applications in the Food and Beverage Industry
In the food and beverage industry, label-free bottles have practical applications. Restaurants, cafes, or juice bars can opt for bottles without pre-attached labels and design theirown custom labels to showcase their brand identity or menu offerings. This gives them the flexibility to change labels based on seasonal specials or promotions, creating a visually appealing presentation for their products.
For example, a juice bar that offers a variety of cold-pressed juices can use label-free bottles and design individual labels for each juice flavor. This not only adds a vibrant and cohesive look to their product lineup but also helps customers easily identify and choose their desired juice.
The Future of Bottle Labeling
As technology advances and sustainability becomes a growing concern, the future of bottle labeling is likely to witness innovative changes. Here are some exciting developments to look forward to:
Innovative Labeling Techniques
The future may bring forth innovative labeling techniques that go beyond traditional adhesive labels. Some possibilities include:
- Digital Labels: With the advancement of electronic ink and digital displays, bottles could feature dynamic and customizable labels that can be changed with a touch or through an app. This opens up new possibilities for personalization and real-time information updates.
- QR Codes and NFC: Bottles may incorporate QR codes or Near Field Communication (NFC) technology that allows consumers to access detailed product information, brand stories, or even interactive experiences through their smartphones. This provides a seamless and engaging way for brands to connect with their customers.
Eco-Friendly Labeling Materials
In line with the growing focus on sustainability, the future of bottle labeling may involve the use of eco-friendly materials. Some potential developments include:
- Biodegradable Labels: Labels made from biodegradable materials that break down naturally over time, reducing their environmental impact.
- Plant-Based Inks: Inks derived from plant-based sources that are non-toxic and environmentally friendly, minimizing the use of harmful chemicals.
- Reusable Labels: Labels that can be easily removed and reapplied without losing their adhesive properties, promoting reuse and reducing waste.
Advancements in Label Removal Technology
As the demand for label removal increases, advancements in label removal technology may emerge. These advancements may include:
- Smart Label Adhesives: Labels with smart adhesives that can be easily peeled off without leaving residue or requiring additional removal steps.
- Label Dissolving Agents: Innovative solutions or sprays that dissolve labels on contact, making the removal process quick and effortless.
- Automated Label Removal Systems: Industrial-scale machines or systems specifically designed for efficient and eco-friendly label removal, reducing the manual effort required.
Conclusion
Removing labels from store-bought bottles offers several benefits, including enhanced aesthetics, easier identification of contents, and simplified recycling processes. Whether you choose to soak and scrub, use heat and steam, or rely on commercial adhesive removers, the methods discussed in this blog post can help you achieve label-free bottles successfully. By removing labels, you can unlock a world of possibilities for reusing and repurposing bottles, promoting a cleaner and more sustainable environment. From DIY projects to business applications and future advancements in labeling techniques, the journey towards label-free bottles is filled with creativity and innovation. So, embrace label removal practices and join the movement towards a greener future! Happy Kombucha Brewing y’all!
FAQ – Removing Bottle Labels
Q1: Is it necessary to remove labels from store-bought bottles before recycling them?
Yes, removing labels from store-bought bottles is recommended before recycling. Many recycling facilities require bottles to be free from labels to ensure efficient processing. Labels can contaminate recycling streams or cause damage to recycling equipment. By removing labels, you contribute to a smoother recycling process and help protect the environment.
Q2: Can all labels be easily removed from bottles?
Not all labels can be easily removed from bottles. Some labels are designed to be more adhesive or are made from materials that make removal difficult. It’s always a good idea to test the label’s removability before attempting to remove it completely. If the label proves stubborn, you can try different removal methods or seek specialized adhesive removers.
Q3: Are there any safety precautions to consider when removing labels?
When removing labels, it’s important to consider safety precautions. If you’re using heat or commercial adhesive removers, ensure proper ventilation in the area. Some adhesive removers may have strong odors or contain chemicals that require caution during use. Additionally, be mindful of handling sharp objects such as razor blades or scrapers when removing labels from glass bottles.
Q4: How can I properly clean and sanitize reused bottles?
To properly clean and sanitize reused bottles, start by removing any labels or adhesive residue using the methods discussed earlier. Wash the bottles with warm water and mild detergent, scrubbing both the inside and outside with a soft sponge or brush. Depending on the bottle’s material, you can sanitize it by submerging it in boiling water or using a bleach solution. Allow the bottles to air dry completely before using them.
Q5: What are the environmental benefits of reusing bottles?
Reusing bottles has several environmental benefits. It reduces waste by keeping bottles out of landfills or recycling facilities. It also conserves energy and resources by minimizing the need for manufacturing new bottles. Embracing reuse practices promotes a circular economy, where materials are kept in circulation for as long as possible, leading to a more sustainable future.
Thanks for checking our this Greek Mountain Kombucha Blog Post on Removing Bottle Labels. Check our some similar articles from GMK: